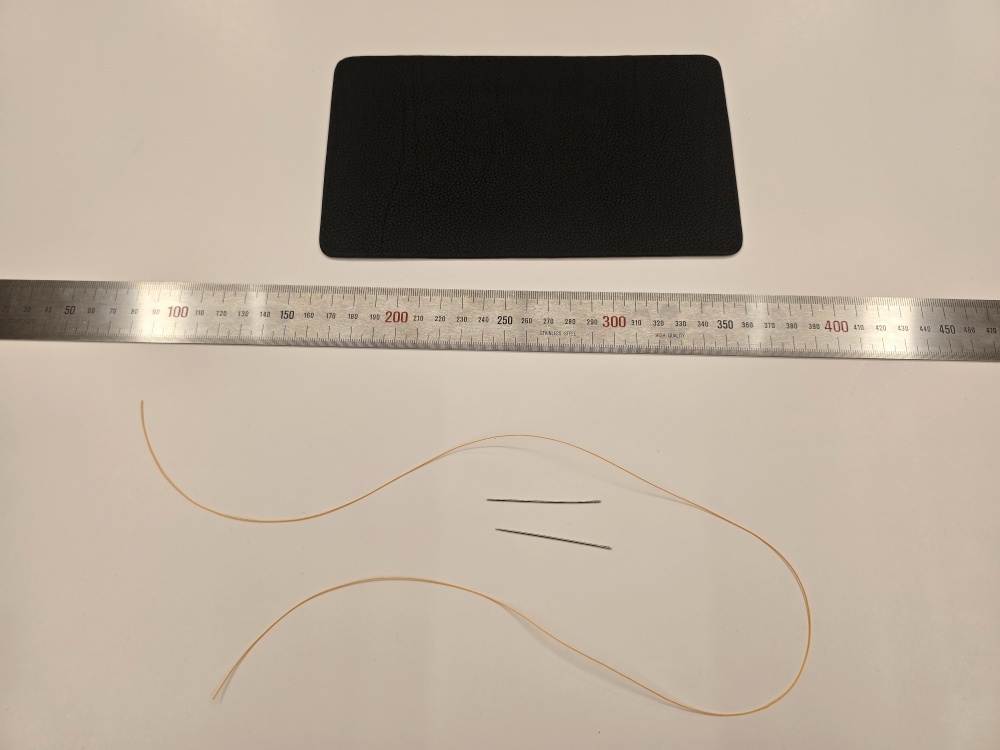
One of the first things to determine before saddle stitching is the thread length. If the thread is too short, a new thread must be joined before the seam is finished. If it is excessively long, it repeatedly rubs against the workbench and stitching pony, increasing friction and twisting.
To Reduce Thread Twisting During Saddle Stitching—both the initial thread length and your hand movements must be appropriate. However, simply multiplying the seam length by a fixed number cannot determine the correct thread length for every project.
In my own work, I generally prepare thread at approximately four times the seam length. I use more than four times the length for short stitching sections and approximately 3.5 times the length for long seams. For thick leather or areas where several layers are joined, I prepare additional thread beyond the basic calculation.
Measure the Actual Seam Length First
When calculating the thread length, measure the actual seam from the first stitching hole to the last, rather than measuring the entire leather component.
A straight seam can be measured with a ruler. For curves or the perimeter of a bag, it is more accurate to follow the stitching line with a flexible tape measure or a separate piece of thread and then straighten it to check the length. Remember to include corners where the stitching direction changes and any continuous sections around the perimeter.
Apply the appropriate multiplier to the measured seam length, then make sure the calculated length also provides enough thread to secure the needles and hold them comfortably while stitching.
Prepare Approximately Four Times the Length for a Standard Seam
When the leather thickness and pricking-iron spacing are within the range you normally use, and the seam is neither unusually short nor long, approximately four times the seam length can be used as the basic starting point.
For example, if the actual seam is 30 cm long, begin by calculating approximately 120 cm of thread. This is not an absolute formula. It is a starting point that should be adjusted according to the leather, thread, and stitching method you normally use.
Even when two seams are both 30 cm long, the amount of thread they consume can differ depending on the leather thickness, stitch spacing, and number of corners.
Prepare More Than Four Times the Length for a Short Stitching Section
For a short seam, simply calculating four times its length may not provide enough working allowance to secure both needles and hold and pull the thread comfortably.
A certain amount of thread is always needed for securing the needles and tightening the final stitch, regardless of how short the seam is. For short sections such as handle attachments or reinforcing stitches, prepare more than four times the seam length.
Trying to reduce a small amount of leftover thread can result in running out before the short seam is complete. It is better to prioritise enough length for a secure finish than to save a small amount of material.
Use Approximately 3.5 Times the Length for a Long Seam
For a long seam such as the perimeter of a bag, approximately 3.5 times the seam length can be used as the starting point. Applying the full four-times rule to a long seam may create more thread than necessary, causing it to rub repeatedly against the workbench, clothing, and stitching pony.
The longer the thread, the farther it must be pulled through each stitch, making friction and twisting more likely to accumulate. When using your usual leather thickness and stitching conditions, reducing the length to approximately 3.5 times the seam length can make a long seam easier to manage.
However, if a long seam includes many thick sections or passes through several layers, do not rely on the 3.5-times calculation alone. Add extra thread to account for the increased thickness.
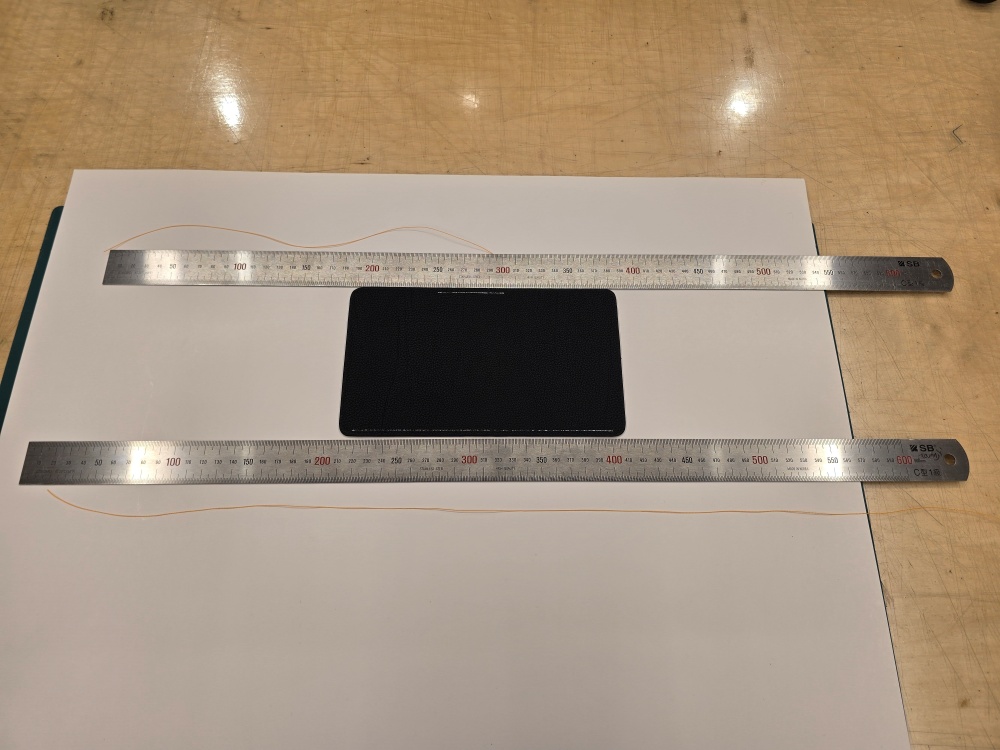
Thick Leather Requires More Than the Basic Calculation
Even when two seams have the same length, thicker leather increases the internal distance that the thread must travel with every stitch. Thread consumption also increases where multiple layers of leather, reinforcement, and lining overlap.
When Considering Leathercraft Thread Thickness and Pricking-Iron Spacing—you must also account for the final assembled thickness. Thick leather combined with thick thread or close stitch spacing may require more thread than the basic multiplier provides.
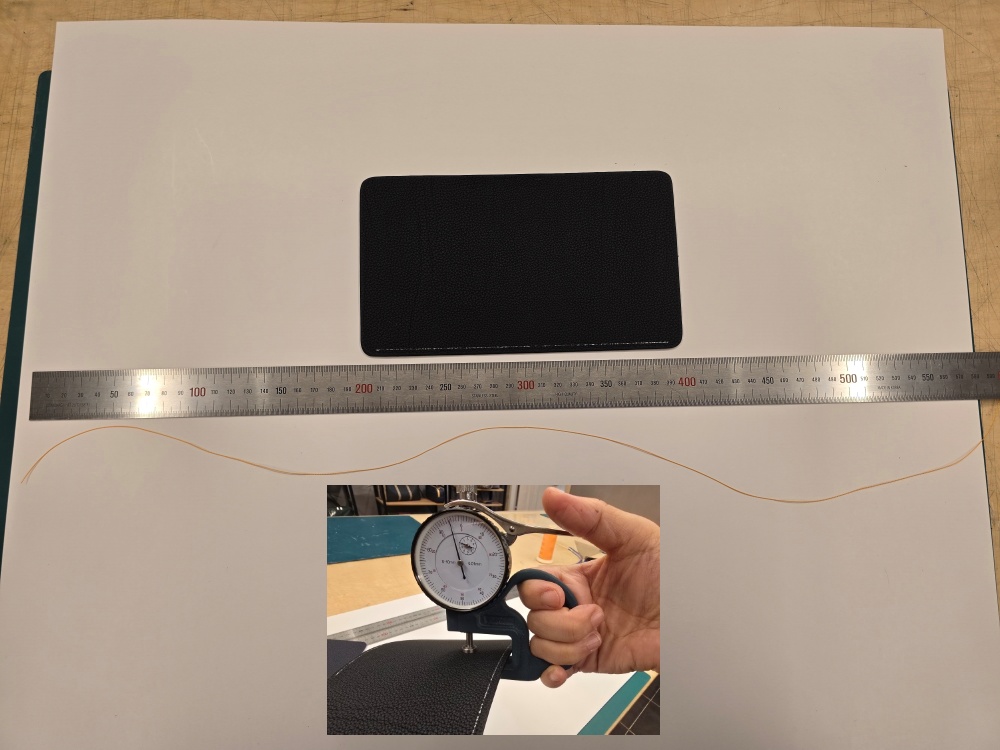
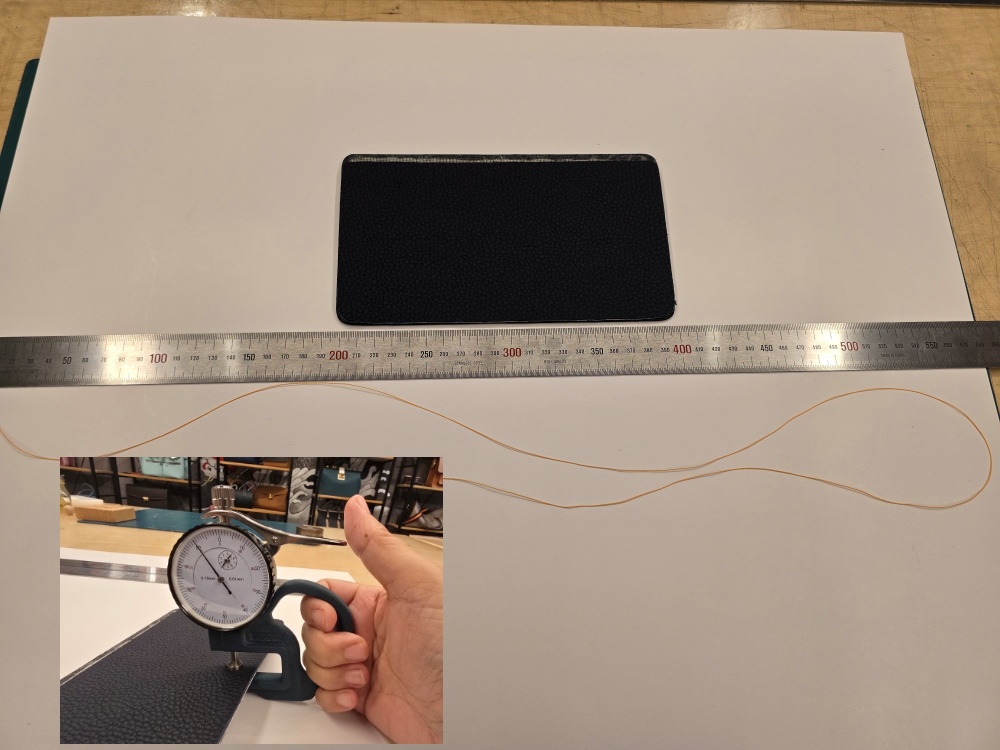
For thick handles, strap attachments, and areas where several components meet, calculate the standard four-times length or the 3.5-times length for a long seam and then add an extra allowance. The safest way to determine this allowance is to consider the final leather thickness and the results of a test stitch.
Test the Calculation When Using New Materials or Conditions
When using a new leather thickness, thread size, or pricking-iron spacing, prepare a test piece with the same materials before applying the calculation to the finished item.
Record the seam length of the test piece and the initial thread length. After stitching, measure the thread remaining on both sides. If too much thread remains, reduce the multiplier slightly for the next project. If there was not enough thread to finish comfortably, increase the allowance as needed.
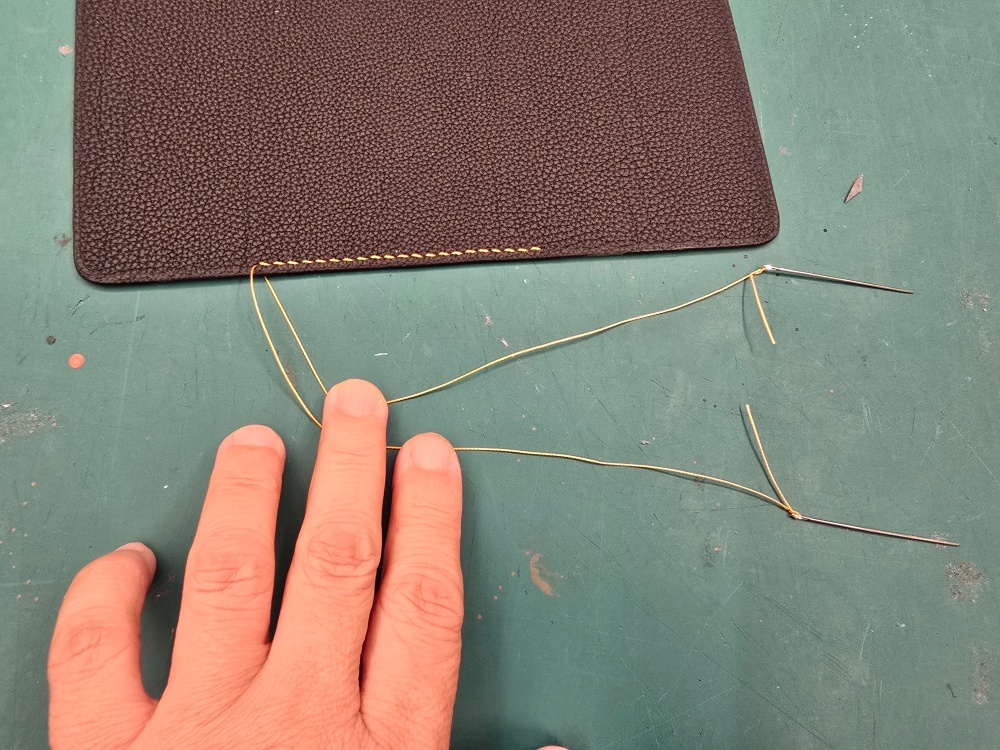
Repeating this process creates a practical adjustment standard for the leather thicknesses and threads you use most often, based on the four-times rule for standard seams and the 3.5-times rule for long seams.
Calculate Thread Length Using Both a Multiplier and the Working Conditions
The key to calculating saddle-stitching thread length is not to apply one fixed multiplier to every project.
- Standard seam: approximately four times the seam length
- Short stitching section: more than four times the seam length
- Long seam: approximately 3.5 times the seam length
- Thick or multilayered section: add extra allowance to the basic calculation
After calculating the length, follow How to Secure Thread to a Leathercraft Needle—attach a needle to each end, and confirm that enough thread remains to hold and pull comfortably.
Choosing the correct thread length is not simply a way to save material. It is an important part of saddle-stitching preparation that reduces unnecessary friction and twisting while helping maintain consistent tension along a long seam.
Leave a Reply