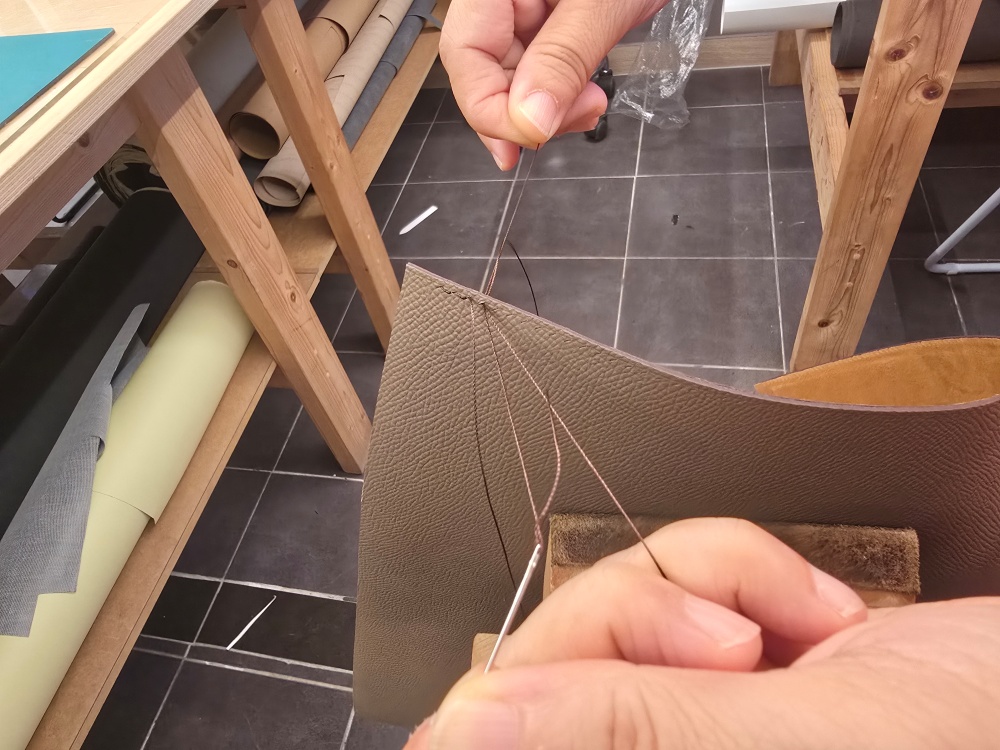
How to Secure Thread to a Leathercraft Needle—even when both needles have been attached correctly, the thread may continue to twist during stitching. Thread twisting is often caused not by the thread itself but by repeated needle orientation, movements of the left and right hands, and the way the thread is pulled.
When the thread twists, small loops form around the needle. These loops can tighten like knots as they pass through the stitching holes. This increases friction and fraying on the thread surface and makes it difficult to maintain consistent stitching tension.
Thread Rotates Slightly Each Time the Needle Moves
The needle rotates slightly as it is held between the fingers, passed through a hole and grasped again from the opposite side. This may not be noticeable after one or two stitches, but repeated rotation in the same direction gradually adds twist to the entire thread.
Untwisted thread hangs naturally between the two needles and does not form large loops when placed on the work surface. Thread with accumulated twist begins to coil around itself or form small loops near the needles when the tension is released.
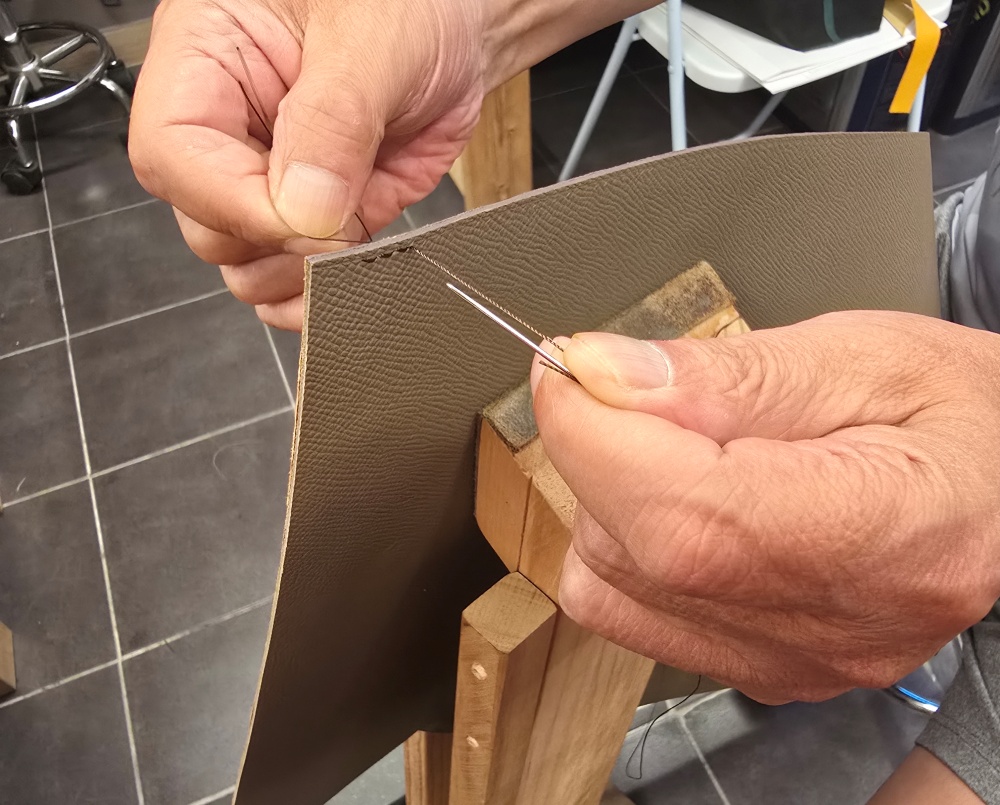
Even a stable bonded thread such as Vinymo MBT can develop twist when the needle is repeatedly turned in the same direction. Thread type alone cannot completely prevent twisting.
Do Not Roll the Needle Between Your Fingers
Rolling the needle between the thumb and index finger while inserting it causes the attached thread to rotate as well. Twisting the needle like a screwdriver because it does not pass through easily also causes thread twist to accumulate quickly.
Hold the same side of the needle shaft and pass it through with as little rotation as possible. When receiving the needle with the opposite hand, grasp and pull it through without rolling it between the fingers.
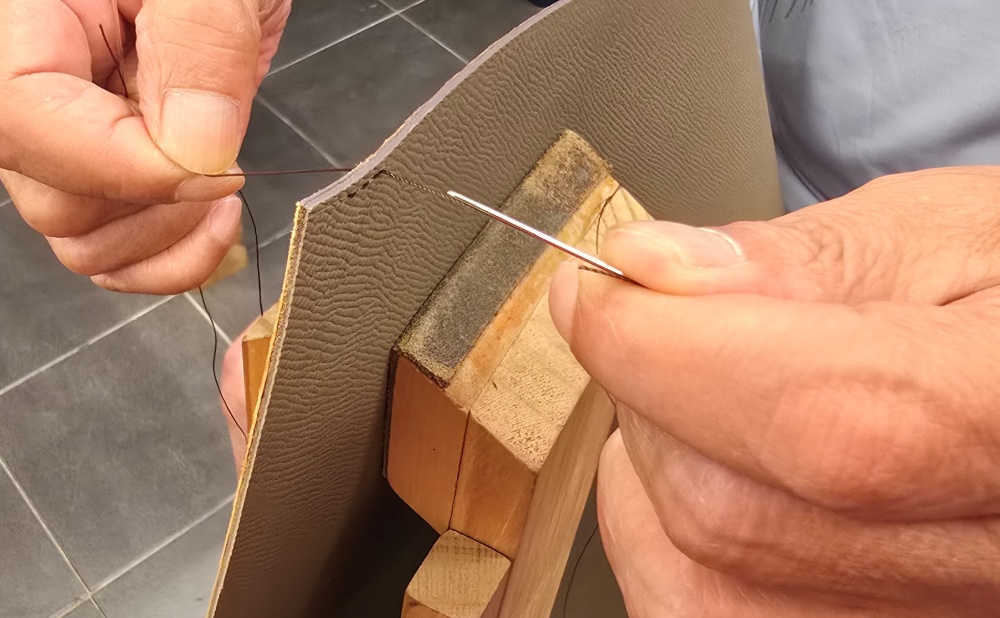
If the needle does not pass through naturally, check the direction and size of the stitching hole and the thickness of the needle before attempting to force it through by twisting.
Keep the Passing Order of the Two Needles Consistent
Saddle stitching passes two needles through the same stitching hole in sequence. Either the left or right needle may be passed first depending on the stitching method, but the same order should be maintained after stitching begins.
If the passing order and thread position keep changing, the two thread paths may cross unnecessarily outside the hole, or one needle may pierce the opposite thread. To maintain the reason saddle stitching lasts longer than machine stitching—the consistent crossing structure inside each hole—the hand sequence must remain the same for every stitch.
Decide where the thread will be positioned after passing the first needle and which side the second needle will follow. Repeat the same movement for every stitch.
Pull the Thread in the Same Direction for Every Stitch
If one side is pulled upwards and the other downwards inconsistently after both needles have passed through, the two sides of the thread develop different rotational forces and tension.
Choose a pulling direction that suits the shape of the piece and the desired stitch angle, and use that same direction for every stitch. Tighten the thread while checking that both sides have balanced tension instead of pulling hard in a single motion.
A consistent pulling direction stabilises both the stitch angle and the way the thread settles against the leather surface.
Twisting Becomes More Noticeable with Thick Thread and Small Holes
When Considering Leathercraft Thread Thickness and Pricking-Iron Spacing—when this relationship is poorly balanced, forcing thick thread through small holes creates additional friction. As the thread is pulled through, surface friction can turn existing twist into small loops or visible fraying.
If the thread snaps out of the hole whenever the needle is pulled or its surface quickly becomes rough, check not only your hand movements but also the combination of thread, needle and stitching-hole size.
Do Not Prepare More Thread Than Necessary
Excessively long thread repeatedly rubs against the workbench, clothing and stitching pony, increasing both twisting and friction. Pulling a long length through each hole also makes the receiving hand more likely to rotate the needle unconsciously.
Allow enough thread for the seam length, number of leather layers and stitch spacing, but avoid preparing more than the work requires. Check the condition of the thread more frequently when stitching a long perimeter.
Release the Tension and Check the Thread Every Few Stitches
Thread twist should be detected before a small loop tightens into a knot. Every few stitches, spread the two needles apart and check whether the thread hangs naturally.
If the thread begins to coil around itself, let one needle hang down and rotate naturally to release the accumulated twist. Run your fingers lightly along the thread to check for small loops or rough areas.
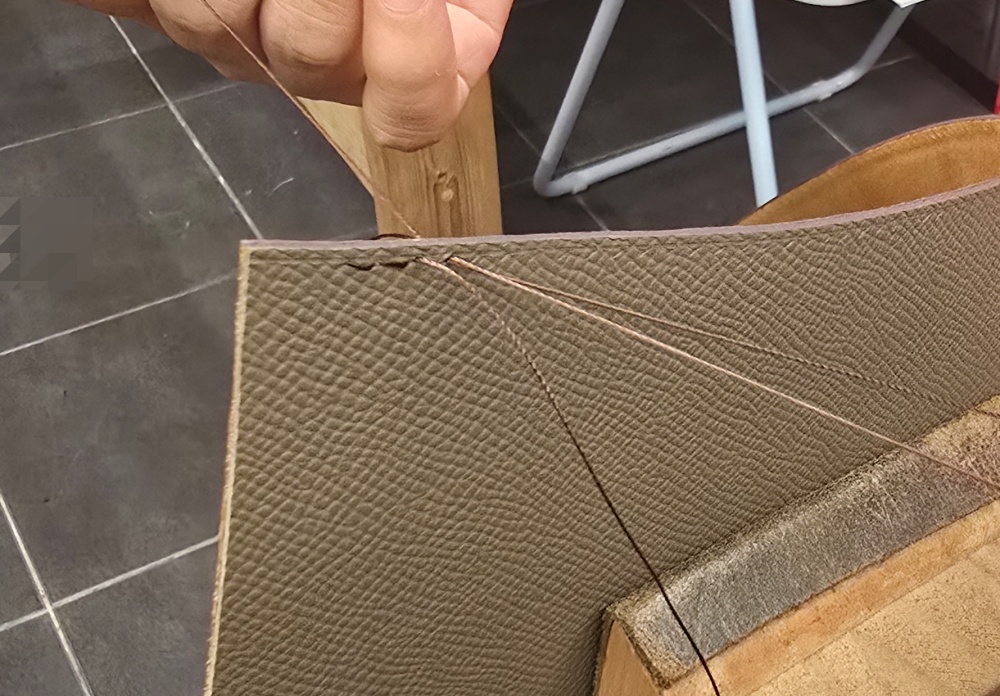
Pulling hard after a loop has formed can tighten it into a knot and damage the thread surface. If you feel resistance, stop pulling and inspect the thread first.
Consistent Hand Movements Reduce Thread Twisting
The key to preventing thread twist during saddle stitching is not a special tool but consistent, repeatable hand movement.
Hold each needle in the same orientation without rolling it, and maintain a consistent passing order and pulling direction. Releasing accumulated twist every few stitches helps keep both the thread condition and stitch tension stable along long seams.
Good hand stitching is not the ability to pull the thread harder. It is the ability to control two needles and one thread so that they move in the same sequence and direction.