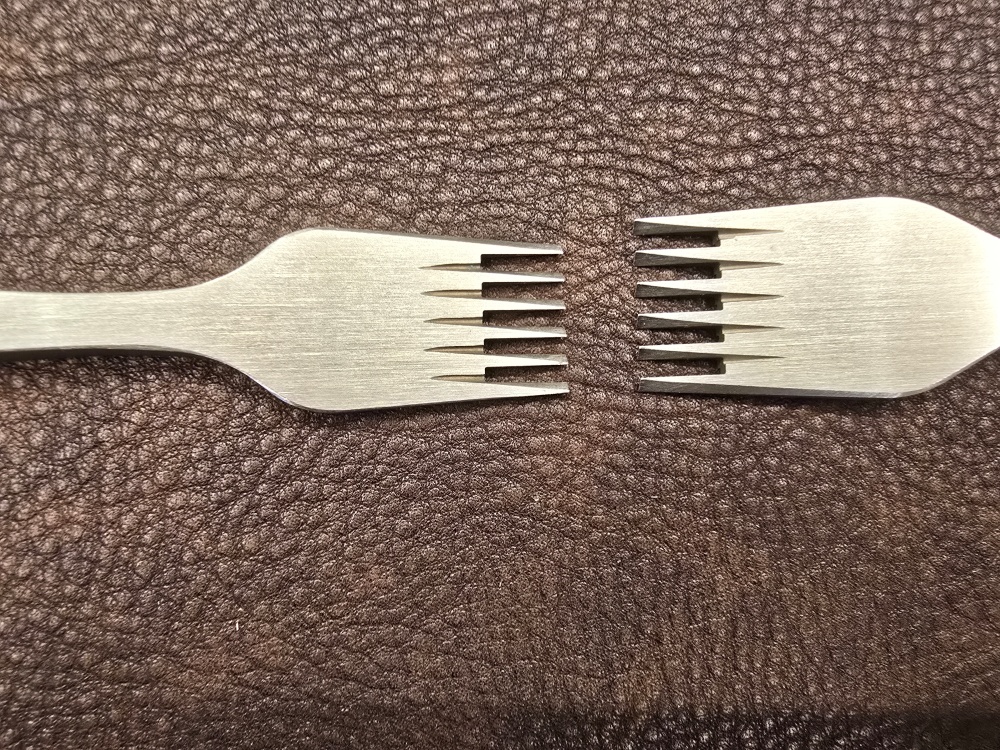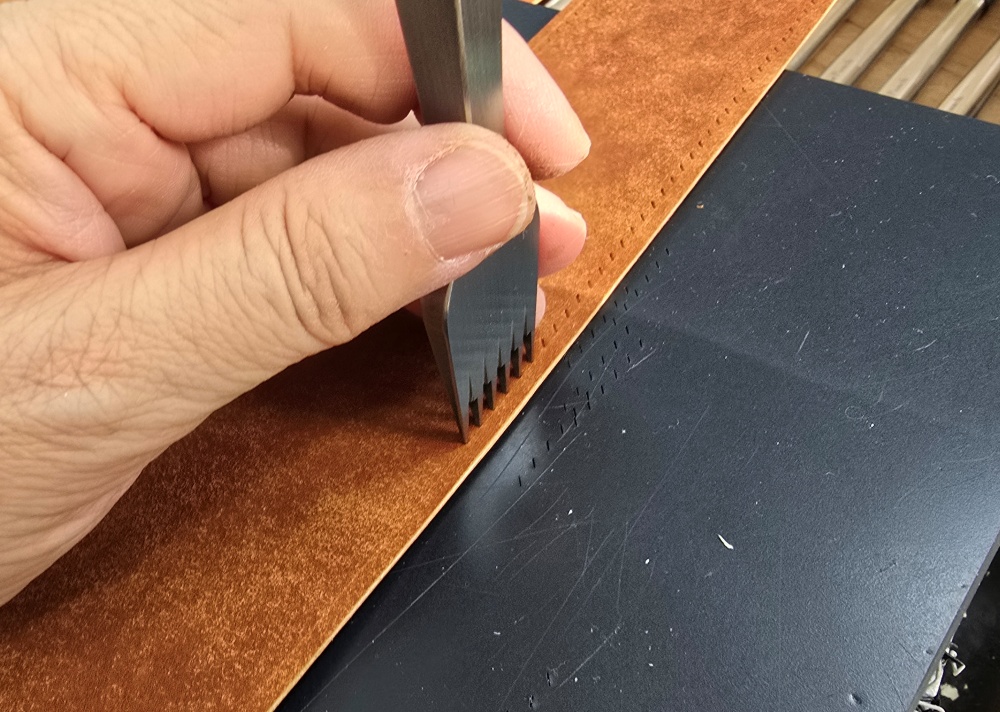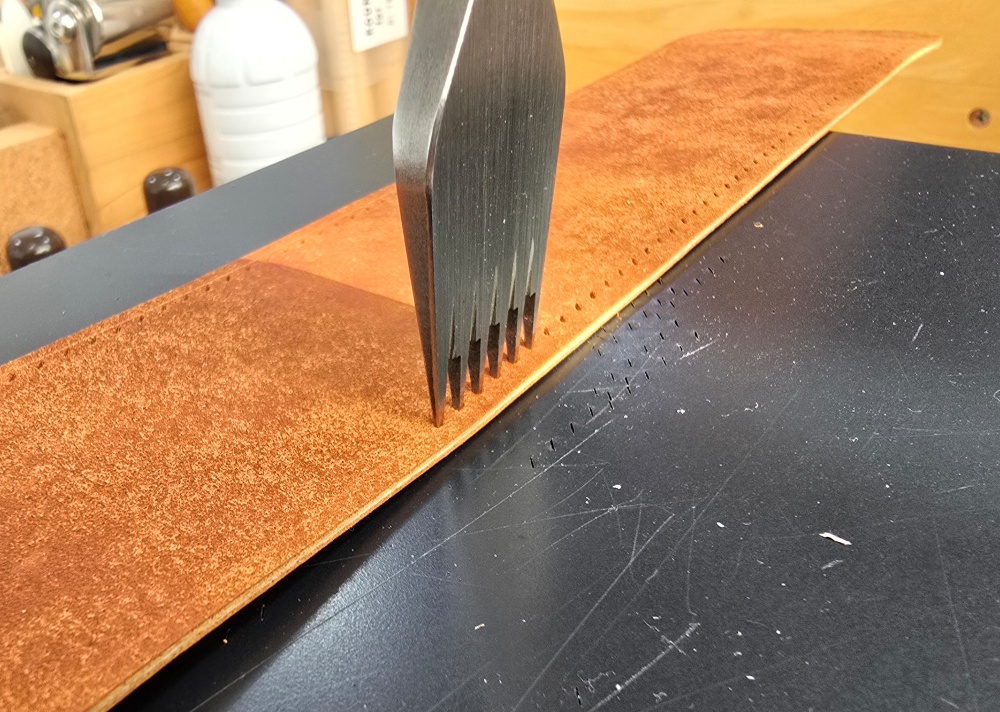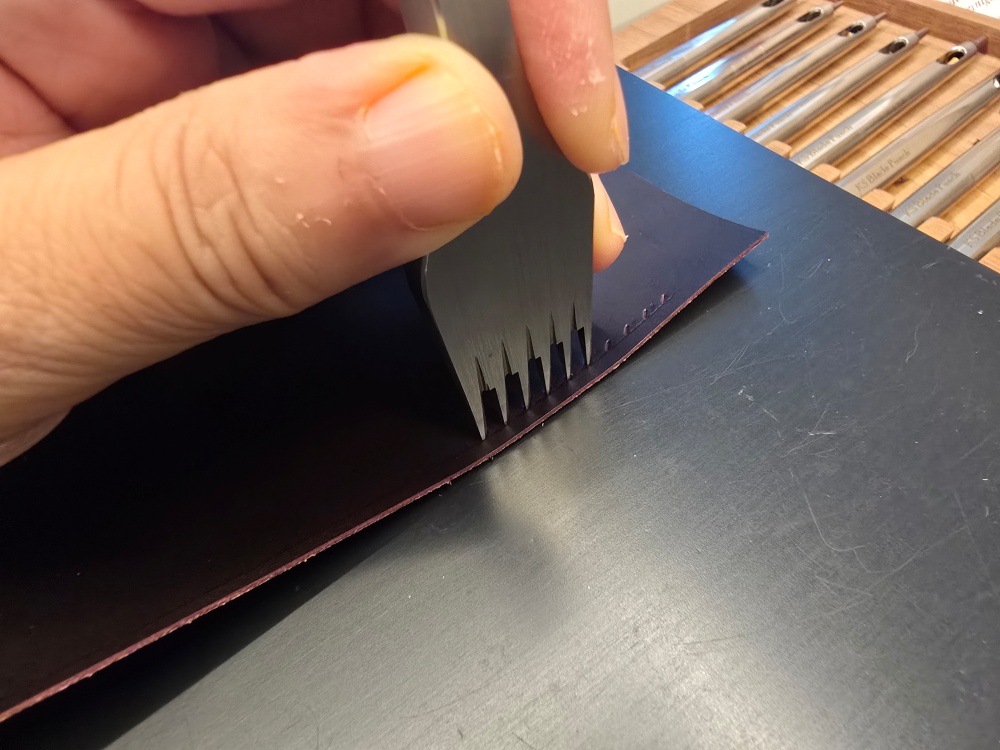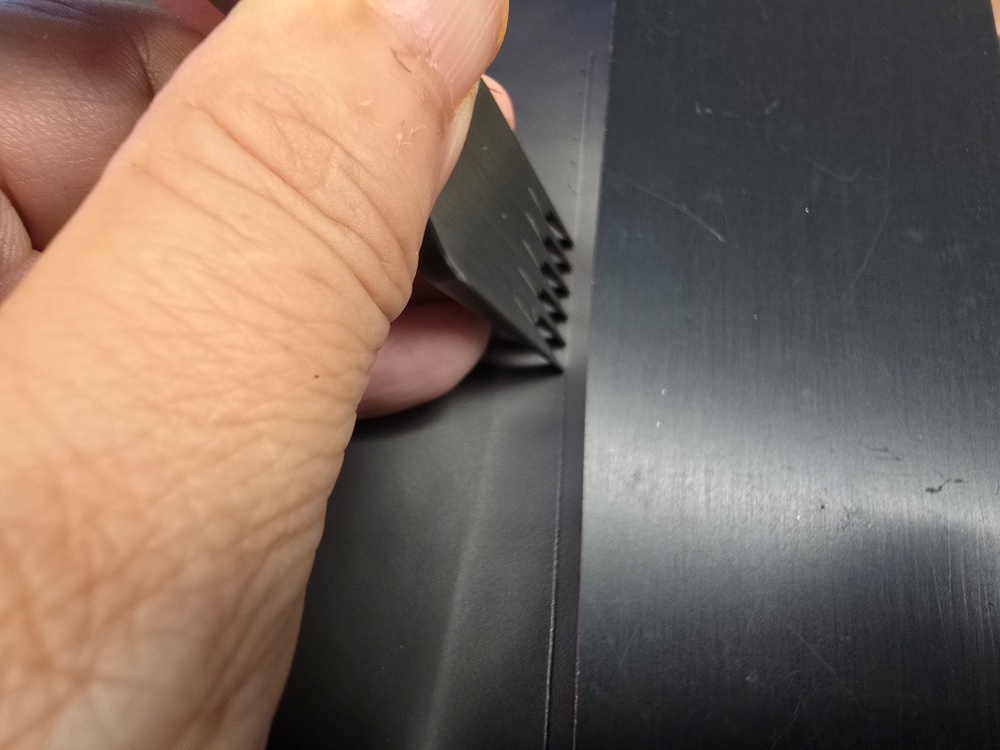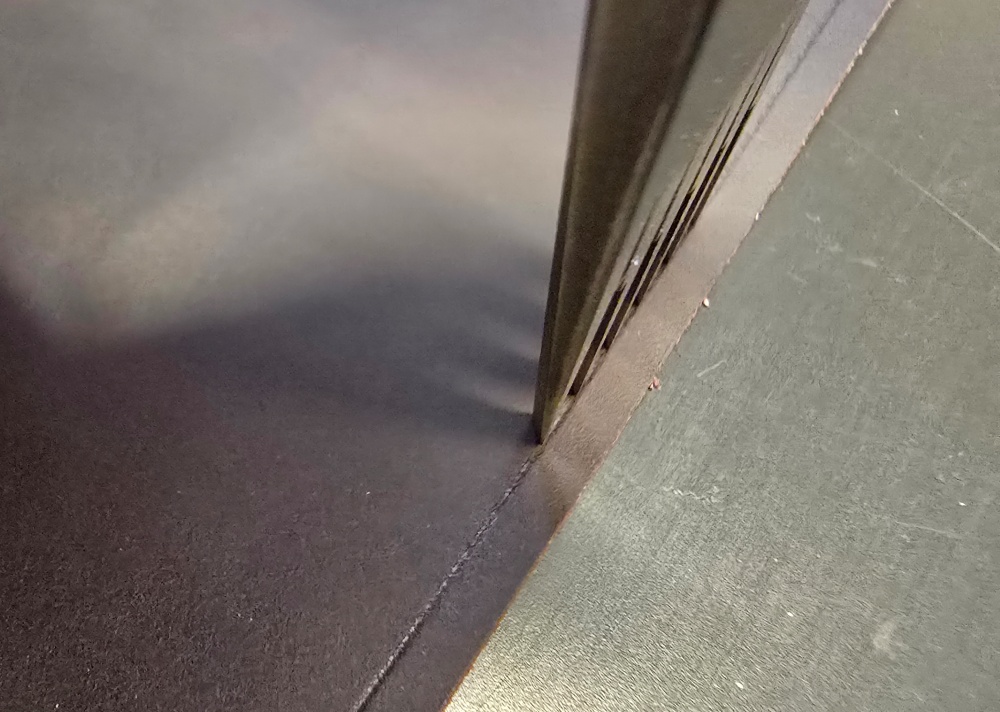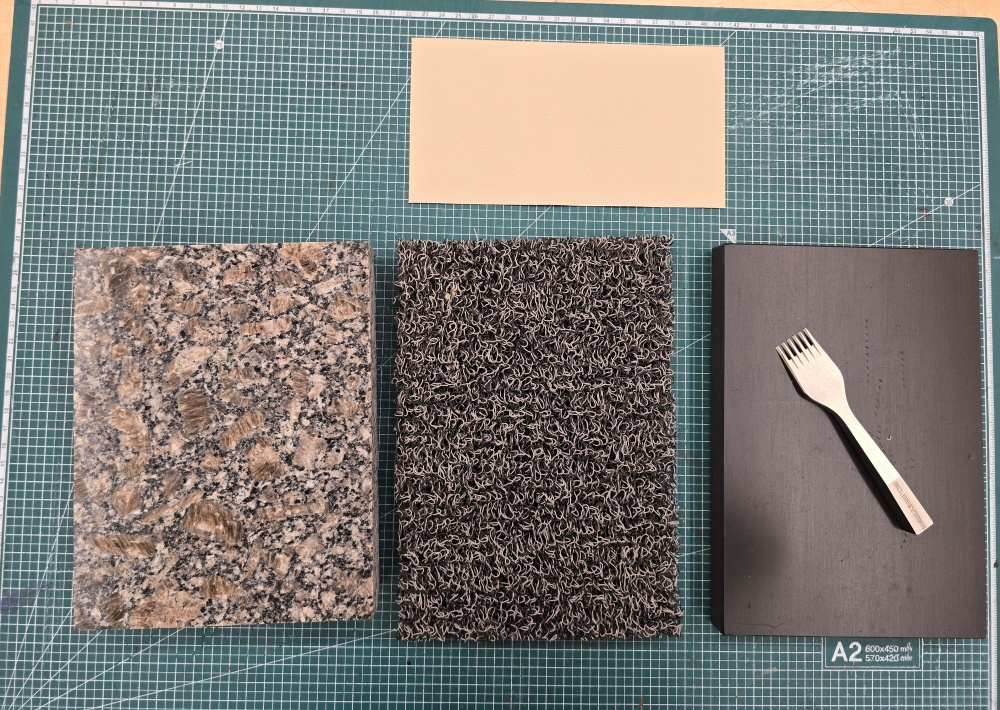
A leathercraft punching board is placed beneath the workpiece when punching leather with a pricking iron or leather punch. It does more than protect the workbench. It prevents the tool’s cutting edges from striking a hard surface directly and helps reduce rebound and noise during punching.
Even when the same pricking iron is used, the material and condition of the punching board, the levelness of the workbench, and the support beneath the board can affect the depth and position of the holes on the back of the leather. If the board is too soft or tilted to one side, the tool may move during punching even when it is initially held at 90 degrees.
Creating accurate hand-stitching holes requires more than checking the pricking iron. The entire setup, from the workbench to the punching board, must absorb impact steadily, and the depth at which the teeth enter the board must remain consistent.
Why a Leathercraft Punching Board Is Necessary
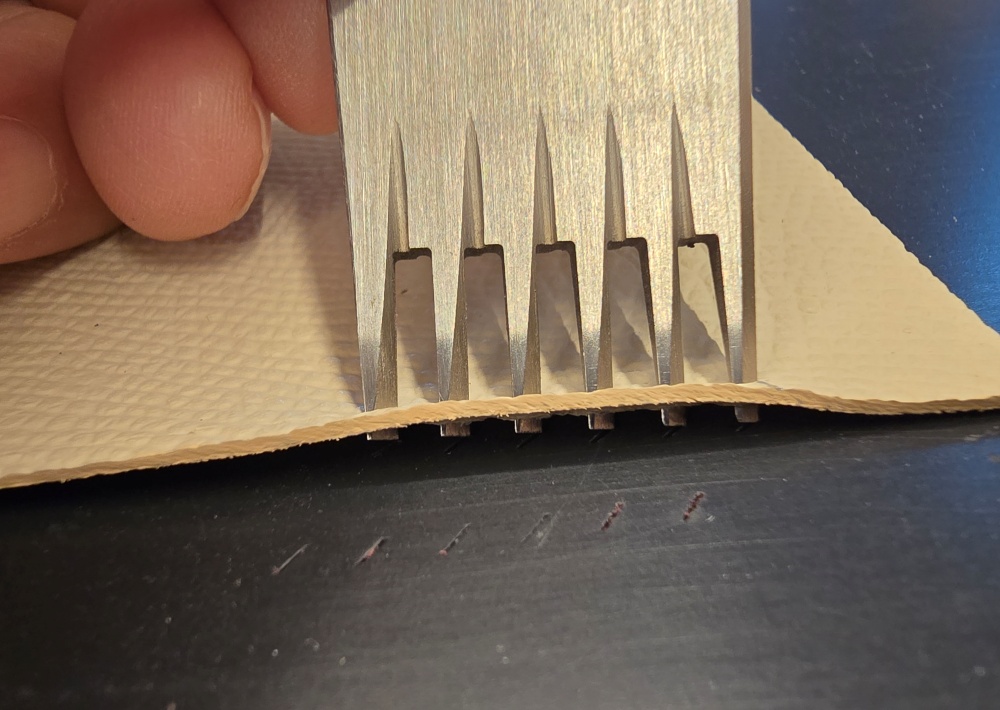
After the teeth of a pricking iron pass through the leather, they reach the supporting surface beneath the workpiece. Punching directly on a wooden workbench, metal plate, stone slab, or another hard surface can dull or damage the tips of the teeth.
A punching board absorbs the impact while allowing the tips of the teeth to enter its surface slightly. This protects both the pricking iron and the workbench while reducing rebound during striking.
However, driving the pricking iron unnecessarily deep into the board is not recommended. If the teeth become deeply embedded, the tool can be difficult to remove. Rocking it from side to side may enlarge the holes in the leather or bend the teeth.
The strike should stop once the leather has been completely pierced and the tips of the teeth have entered the punching board only slightly.
Cutting Mats and Punching Boards Serve Different Purposes
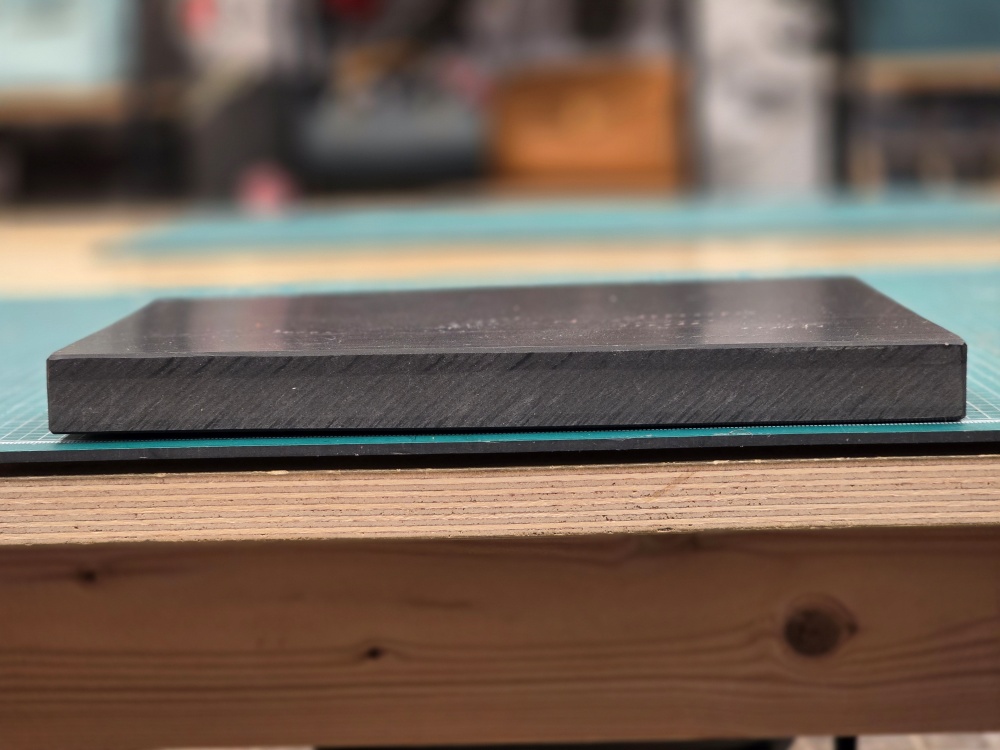
A cutting mat provides a surface for cutting leather with a knife, while a punching board absorbs the impact of a pricking iron or leather punch. Even when the two products look similar, they may require different thicknesses and impact-absorbing properties.
If a thin cutting mat is used as a punching board, the teeth may pass through it and strike the hard surface underneath. On the other hand, an excessively soft mat may compress and rebound during striking, causing the pricking iron to move away from its vertical position.
Before using a cutting mat for punching, check whether the product is also designed for impact work. If its intended use is unclear, it is safer to use separate surfaces for cutting and punching.
The Support Beneath the Punching Board Must Be Firm and Level
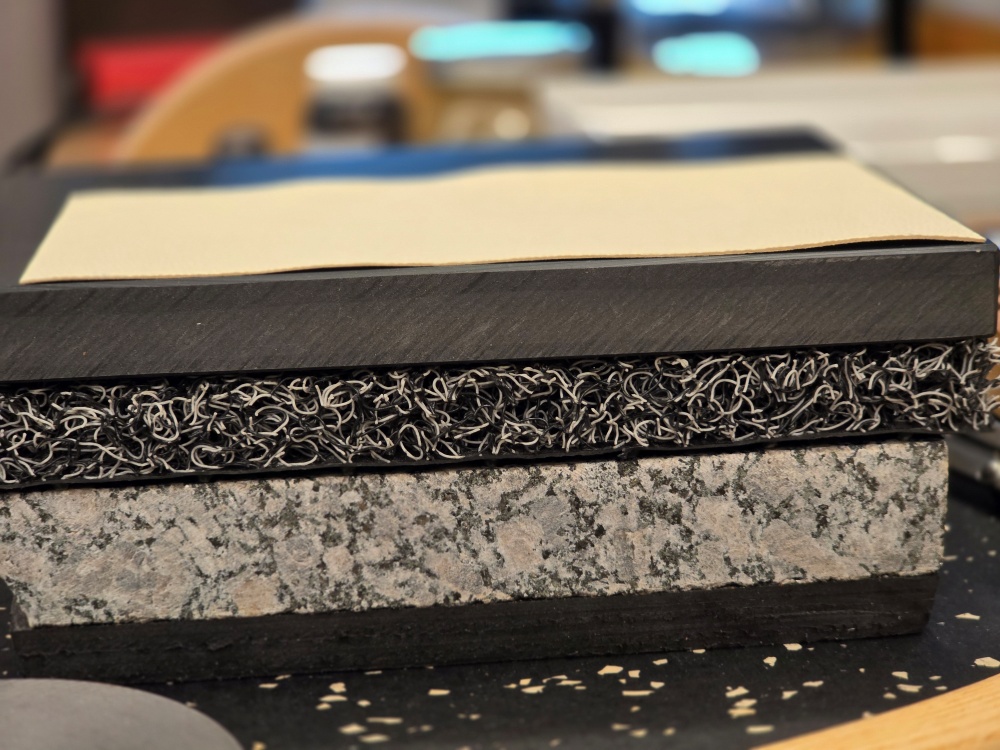
A punching board requires a firm, flat, and stable base. If the workbench is weak or the center of the tabletop vibrates, the striking force may disperse and require several blows in the same position.
Even when using a heavy stone slab or rigid base, never place the leather directly on that hard surface for punching. Place the punching board on the rigid base and then position the leather on top of the punching board.
A rubber pad or vibration-control mat may be used to reduce noise and vibration from the workbench. The soft layer should be placed beneath the rigid base rather than directly beneath the leather.
The basic layering order is as follows.
- A stable workbench
- A rubber pad or vibration-control mat
- A firm, level supporting base
- A punching board that receives the tips of the pricking iron
- The leather to be punched
Not every working environment requires exactly the same arrangement. The important points are that the punching board remains level and stable and that the entire workbench does not resonate excessively when struck.
The Punching Board Must Fully Support the Workpiece
When a large workpiece is placed on a small punching board, part of the leather may hang over the edge. Even if the section being punched is on the board, sloping leather around it can make it difficult to check the position and angle of the pricking iron accurately.
Use a punching board large enough to keep the punching area and the surrounding leather flat. When working on a large bag panel, move the workpiece as necessary while keeping the section being punched on a flat part of the board.
Working near the edge of the punching board may cause it to lift or move when struck. Whenever possible, position the punching area near the center of the board.
Check How Deeply the Teeth Enter the Board
The appropriate thickness of a punching board depends on the pricking iron and the thickness of the leather. Instead of treating one specific thickness as correct for every situation, confirm that the teeth do not reach the hard supporting surface beneath the board after passing through the leather.
Before using a new punching board on a finished piece, test it on a scrap of the same leather. Hold the pricking iron at 90 degrees, strike it with appropriate force, and check the following points.
- Check whether the holes on the front and back of the leather are aligned.
- Check whether the tips of the teeth struck the hard surface beneath the punching board.
- Check whether the board compressed excessively or rebounded during punching.
- Check whether the pricking iron can be removed without rocking it significantly from side to side.
- Check whether the punched holes opened wider than necessary.
Rather than using excessive force in a single blow, apply force vertically while checking the thickness of the leather and the progress of the holes. Remove the pricking iron by lifting it vertically instead of twisting it sideways.
For more information about tooth spacing and the correct 90-degree punching position, see How to Use European-Style Pricking Irons: No. 7 and No. 9 Spacing and Correct Punching Positionfor detailed guidance.
Keep the Pricking Iron Vertical on Both Straight Lines and Curves

For a straight section, place the workpiece flat on the punching board and hold the pricking iron at 90 degrees to the leather surface. Check the actual position of the teeth where they touch the leather instead of looking only at the handle, and then strike vertically.
Each time the tool is moved to the next position, check that the leather remains on a flat area of the board. Even when one tooth is placed in an existing hole, make sure that grooves or depressions in the board do not cause the tool to tilt.
When following a curve, rotate the workpiece instead of tilting the pricking iron in the direction of the curve. Keep the tool vertical and turn the leather gradually to follow the divider line.
For a tight curve, punch one step at a time with a two-tooth pricking iron and rotate the workpiece slightly after each strike. Adjust the positions of both the workpiece and the punching board so that the punching area remains near the center of the board.
Do Not Repeatedly Use Only One Area of the Board
Repeatedly striking the same area creates concentrated holes and deep grooves in the surface. Leather will no longer lie flat over a deeply worn section, and the teeth may slip into existing marks.
Move the working position gradually so that the entire board wears evenly. If the product is designed for double-sided use, it may be turned over after both surfaces have been inspected.
However, if the board is warped or deep grooves on one side affect the opposite surface, it is safer to replace the board rather than continue using it after turning it over.
When to Replace a Punching Board
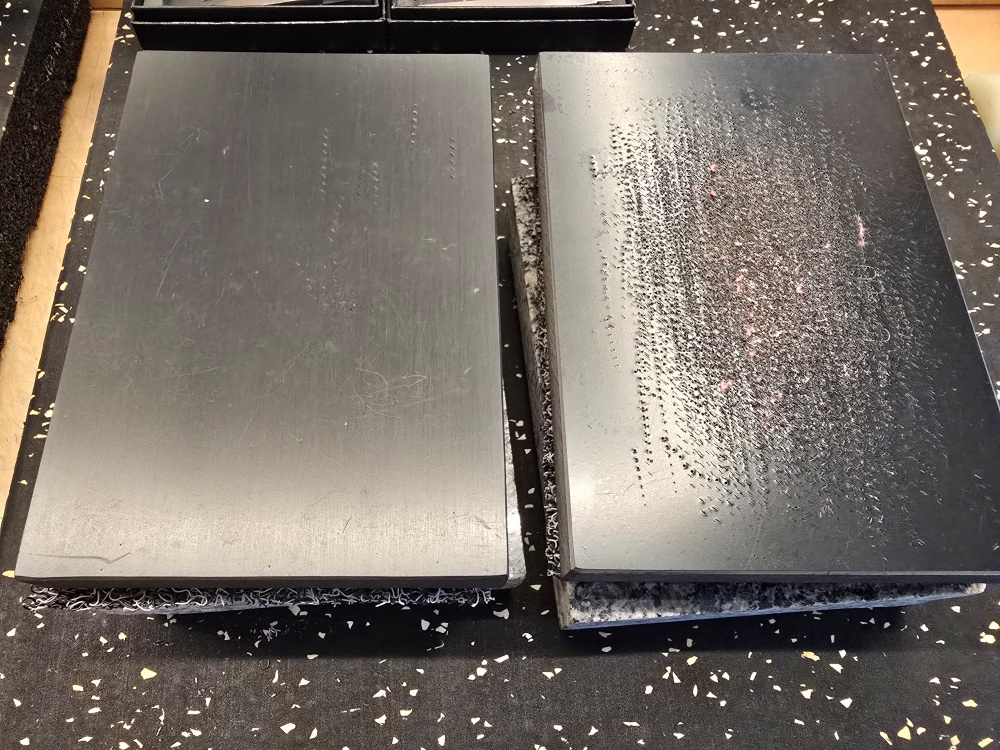
A punching board is a consumable work surface that receives the tips of punching tools. Visible marks alone do not mean that it must be replaced immediately, but an uneven surface can affect punching accuracy.
Consider replacing the punching board if any of the following conditions appear.
- Deep grooves prevent the leather from lying flat.
- The center of the board has sunk or the entire board has warped.
- The teeth repeatedly slip into existing holes or grooves.
- Parts of the surface have hardened or cracked.
- The board has become thin enough for the teeth to reach the supporting surface underneath.
- Rebound and impact noise have increased compared with previous use.
Placing a new punching board beside the used one makes it easier to compare their surface condition and thickness from the side.
How to Reduce Punching Noise and Vibration
Leathercraft punching noise is not determined by the punching board alone. If the workbench moves or has a hollow tabletop, impact noise and vibration may travel more easily through the structure.
A heavy and stable base helps prevent the striking force from dispersing. Placing a vibration-control mat beneath that base can help reduce the vibration transmitted to the workbench or floor.
Stacking several soft mats directly beneath the leather may appear to reduce noise, but it can cause the tool to rebound or tilt. To maintain punching accuracy, place a suitable punching board directly beneath the leather and position vibration-control material beneath the rigid base.
It is difficult to eliminate punching noise completely. Instead of striking excessively hard simply to reduce the number of blows, transfer the necessary force accurately through a stable supporting setup.
How to Choose a Leathercraft Punching Board
When selecting a punching board, consider the tools and the size of the workpieces you use rather than looking only at the price or dimensions.
First, confirm that the material is intended for punching and will not break easily when struck by a pricking iron.
Second, the board must be thick enough to prevent the tips of the teeth from reaching the hard base underneath.
Third, choose a size that allows the leather parts you make most often to lie flat.
Fourth, the surface must be flat, and the board should not slide easily on the workbench.
Fifth, a product that can be replaced easily with the same size is more convenient to maintain over time.
A board that is too hard may damage the tips of the teeth, while one that is too soft may allow both the leather and the tool to move. If the product description is insufficient, judge its suitability by testing it on scrap leather.
How to Maintain and Store a Punching Board
After punching, remove leather dust and debris from the board. Fragments trapped in deep grooves may prevent the next workpiece from lying flat.
Store the punching board flat and away from strong heat and direct sunlight. Leaning it against a wall or placing uneven weight on part of it may cause it to warp.
Using separate boards for cutting and punching prevents knife cuts and punching marks from accumulating on the same surface. Follow the product’s care instructions instead of heating the board or cleaning it with strong solvents.
Common Mistakes Made by Beginners
The first mistake is punching leather directly on a wooden workbench or stone slab. The tips of the teeth may strike the hard surface and become damaged.
The second mistake is using a thin cutting mat as a punching board. The teeth may pass through the mat and strike the supporting surface underneath.
The third mistake is stacking several excessively soft mats directly beneath the leather to reduce noise. Rebound may cause the pricking iron to move and shift the positions of the holes on the back.
The fourth mistake is repeatedly using the same part of the punching board. When punching over a deep groove, the leather can sink and the teeth may slip sideways.
The fifth mistake is driving the pricking iron too deeply into the board. Once the leather has been pierced, the tips should enter the board only slightly, and the tool should be removed vertically.
Punching Accuracy Depends on Both the Tool and the Board
Creating accurate hand-stitching holes requires checking not only the spacing and angle of the pricking iron but also the condition of the punching board beneath the leather.
A punching board protects the tool and the workbench while absorbing impact. Place it on a firm and stable base, and add a vibration-control mat beneath the rigid base when necessary.
Keep the workpiece flat on the punching board and hold the pricking iron at 90 degrees throughout the process. On curves, rotate the workpiece instead of tilting the tool.
Replace the punching board when deep grooves or warping prevent it from supporting the leather evenly. Consistent hand-stitching lines depend on checking the levelness and wear of the punching board as carefully as the pricking iron and the leather.