
Leathercraft patterns do not begin as sheets with preprinted shapes and markings. A large blank sheet of pattern board is purchased, cut to suit the item being made, and then shaped by hand into the required pattern.
The pattern board is initially purchased as a large blank sheet approximately half the size of a full sheet, with no lines or text printed on it. It is cut to the required size, shaped using cross-folding and straight-line principles, and then completed by adding the markings needed to make the item.
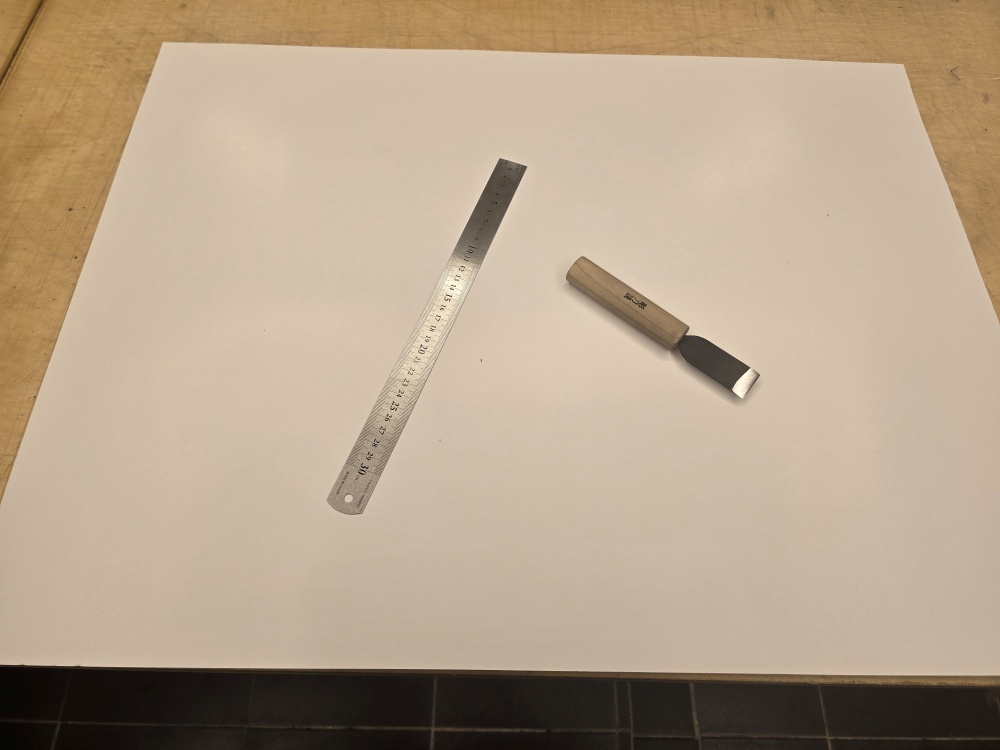
The Purchased Pattern Board Is Material for Making a Pattern, Not a Finished Pattern
The purchased pattern board is a firm sheet with no markings. At this stage, it is not a finished pattern that can be placed on leather for cutting, but the basic material used to create a pattern in the required shape.
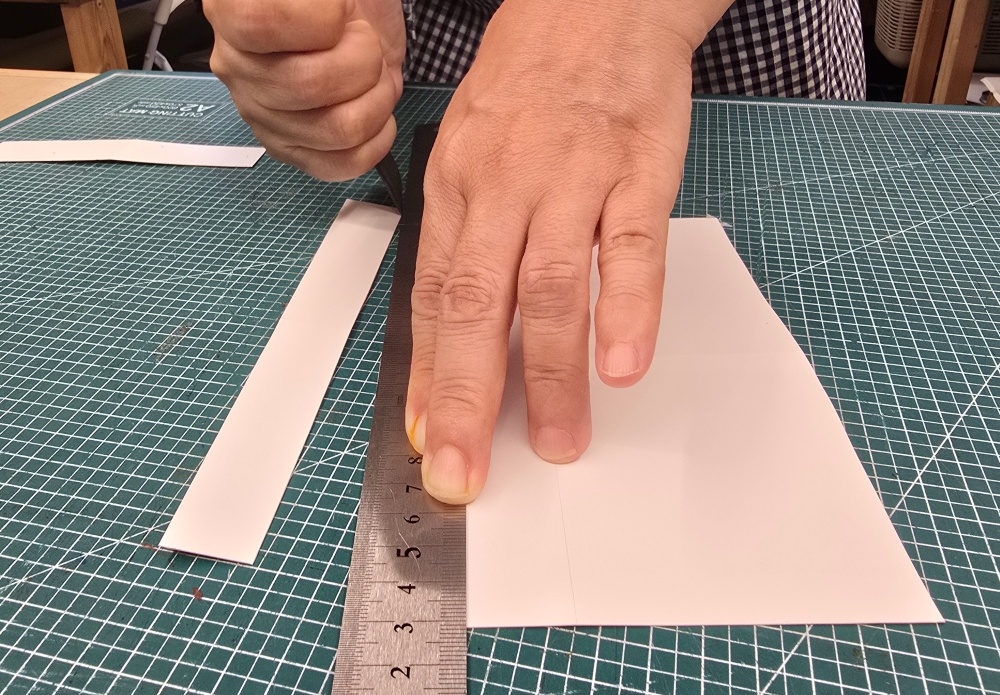
The entire large sheet is not used as it is; instead, it is cut according to the size of the item and its components. A smaller section is prepared for a small component, while a larger section is prepared for a wide component such as a bag body panel.
If the board is cut without considering the required size, there may not be enough space to complete the pattern. Conversely, preparing an unnecessarily large piece can make it difficult to fold and handle while also wasting pattern board.

Cross-Folding and Straight Lines Establish the Pattern Shape
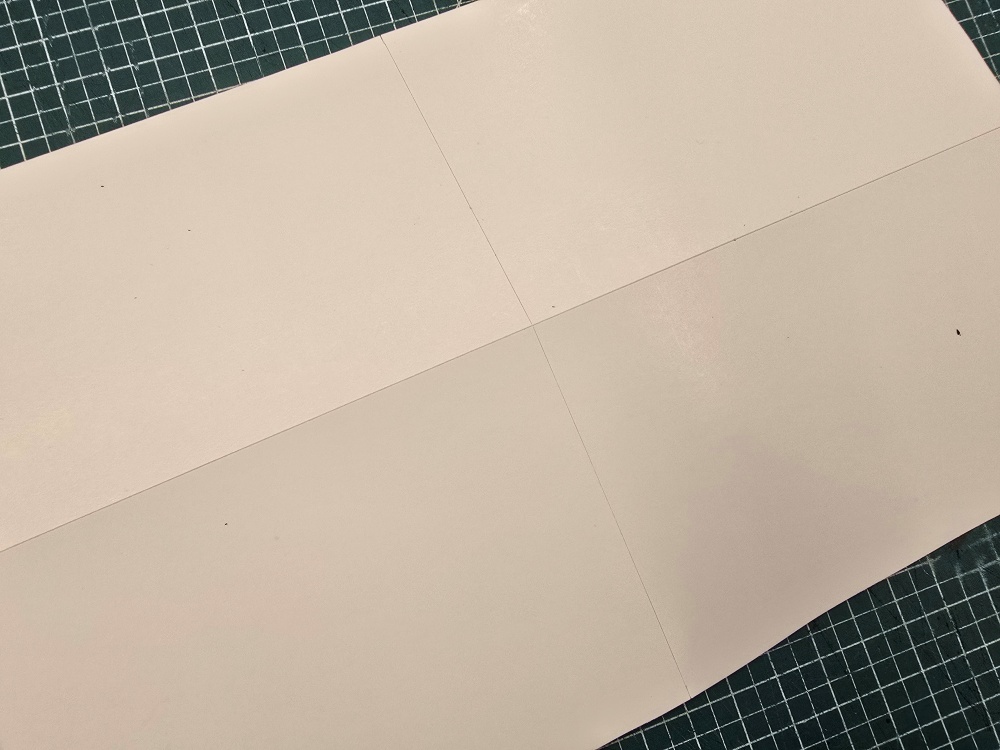
Once the pattern board has been cut to the required size, it is shaped using cross-folding and straight-line principles. Instead of drawing a complex outline immediately, the pattern’s dimensions and shape are established through the relationship between the folded references and straight lines.
When folding the board, check that the sections intended to meet are aligned accurately. If the fold is misplaced, the pattern created from that reference may also become inaccurate.
Straight lines provide the basic references that determine the pattern’s dimensions and shape. These references make it possible to create the required pattern while checking the relationships between the left and right sides and between the upper and lower sections.
The Finished Pattern Includes the Markings Required for Making the Item
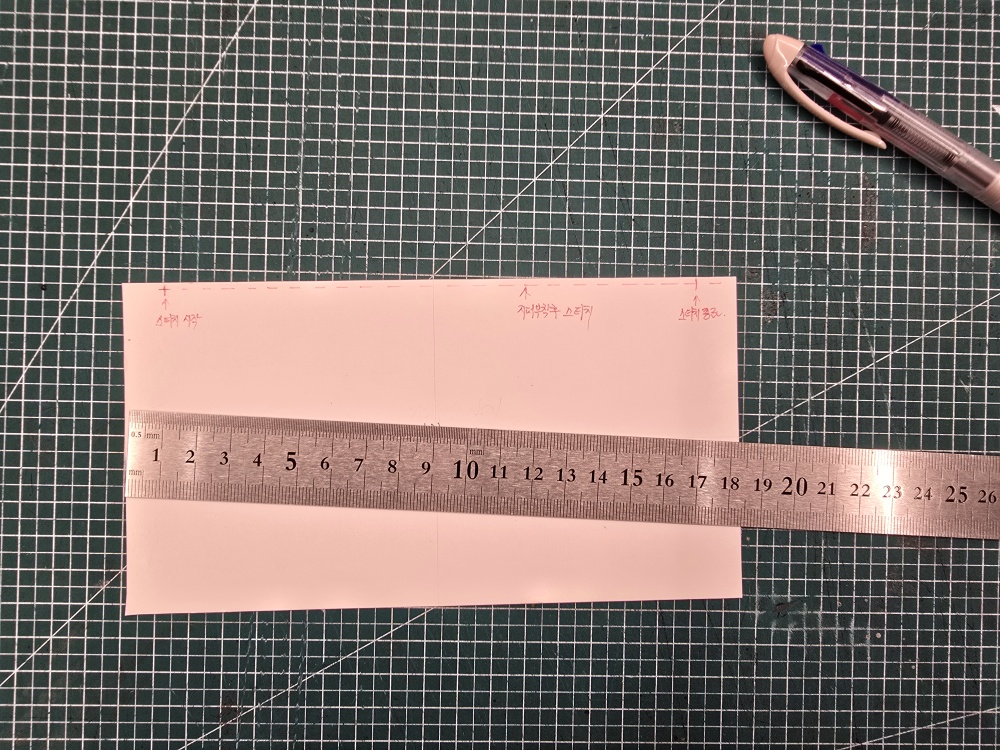
Although the pattern board is blank when purchased, the finished pattern contains the markings required for making and assembling the item. A blank sheet of pattern board and a finished pattern used to cut leather are therefore two different stages.
The types and positions of markings on a finished pattern vary according to the item’s structure and construction method. Rather than placing identical markings on every pattern, the maker identifies and marks the positions that must be checked during the actual work.
These markings do more than indicate the outline used to cut the leather. They provide working references that help position each cut component correctly during the following stages and confirm the relationships between multiple components.
## Leather Is Cut with a Finished Pattern, Not a Blank Sheet of Pattern Board
Leather is cut using a pattern whose shape and working markings have been fully completed. The finished pattern is placed in the appropriate position on the leather, secured so that it cannot move, and used as the guide for cutting along its edge.
When cutting chrome-tanned leather, apply a small amount of leather adhesive along the edge of the paper pattern and position it as though lightly attaching it to the leather. Place a paperweight in the centre and press down by hand near the area where the knife is moving so that the pattern does not shift.
Keep the blade in contact with the edge of the pattern, but do not hold the knife perfectly upright. Because of the angled shape of the knife tip, tilt the knife approximately 10 degrees away from the pattern to produce an accurate 90-degree cut edge.
Do not cut curves and circular sections by turning the knife through the entire shape in one continuous motion. Make a short straight cut, rotate the workpiece by approximately 5 degrees, and repeat the process to form the curve from connected straight cuts.
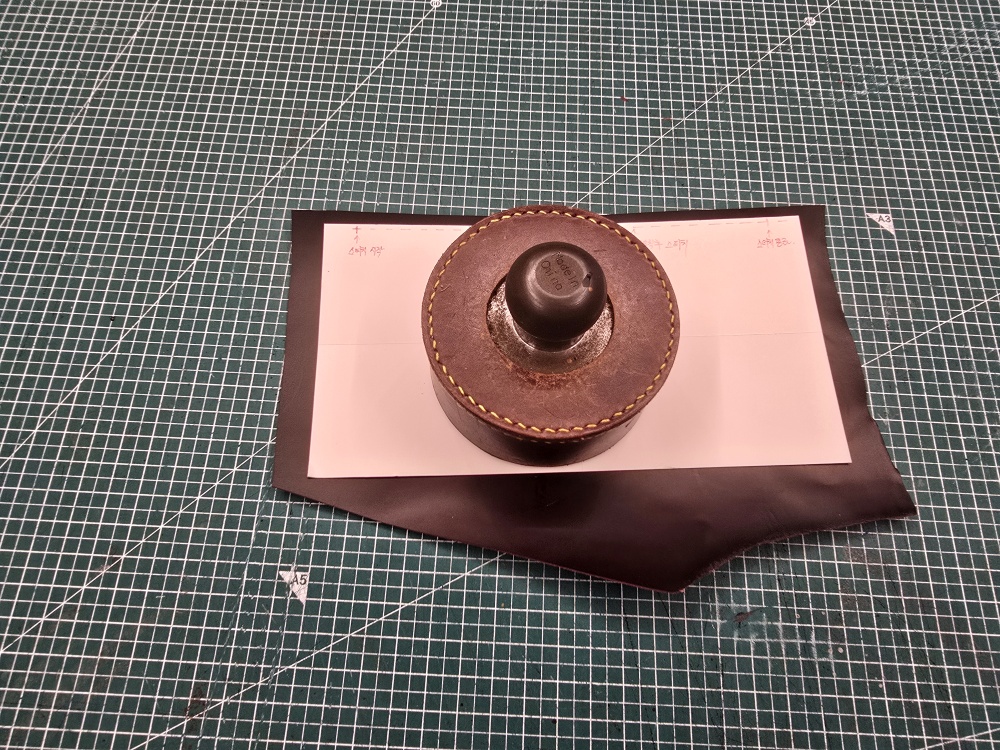
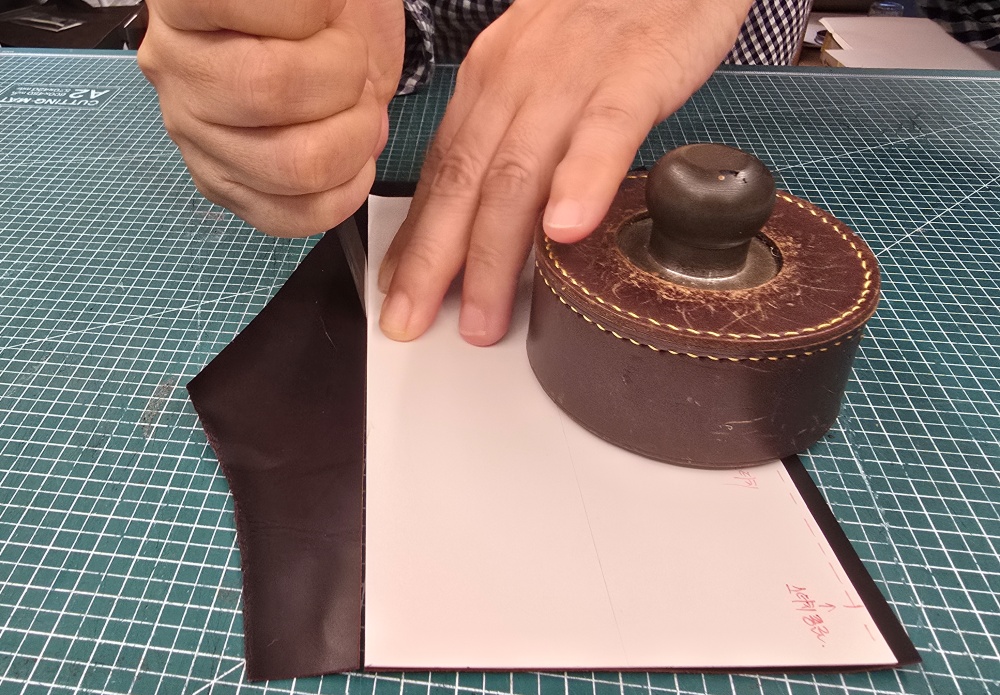
After cutting, compare the pattern and leather from both the front and back. The pattern shape has been transferred accurately when no leather is visible beyond the pattern from the front and no part of the pattern is visible beyond the leather from the back.
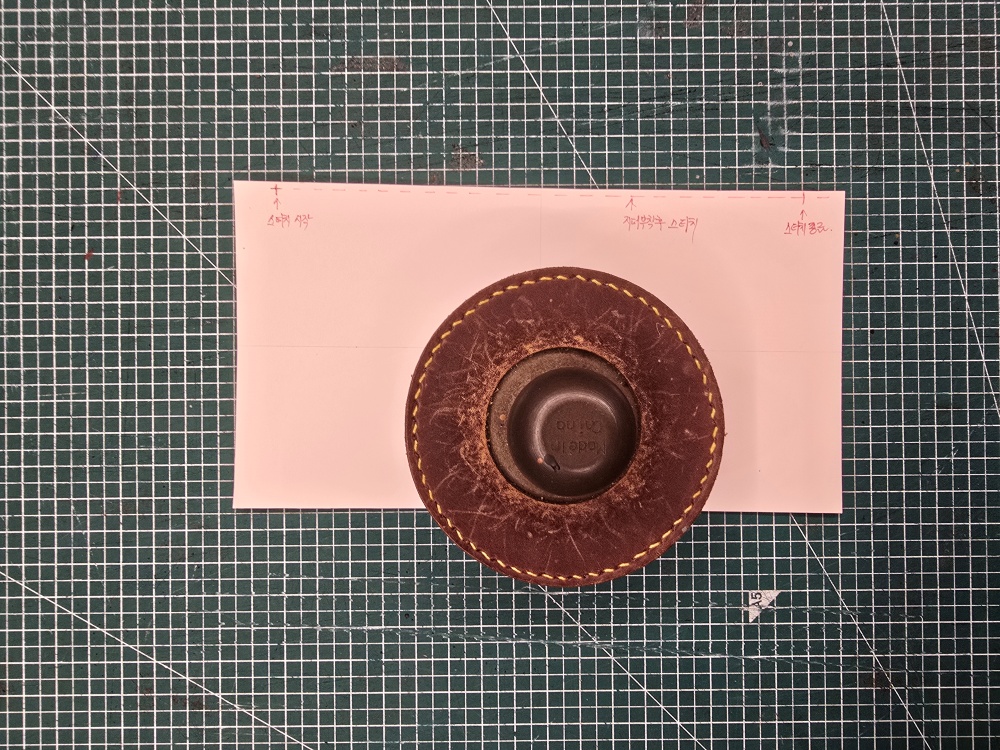
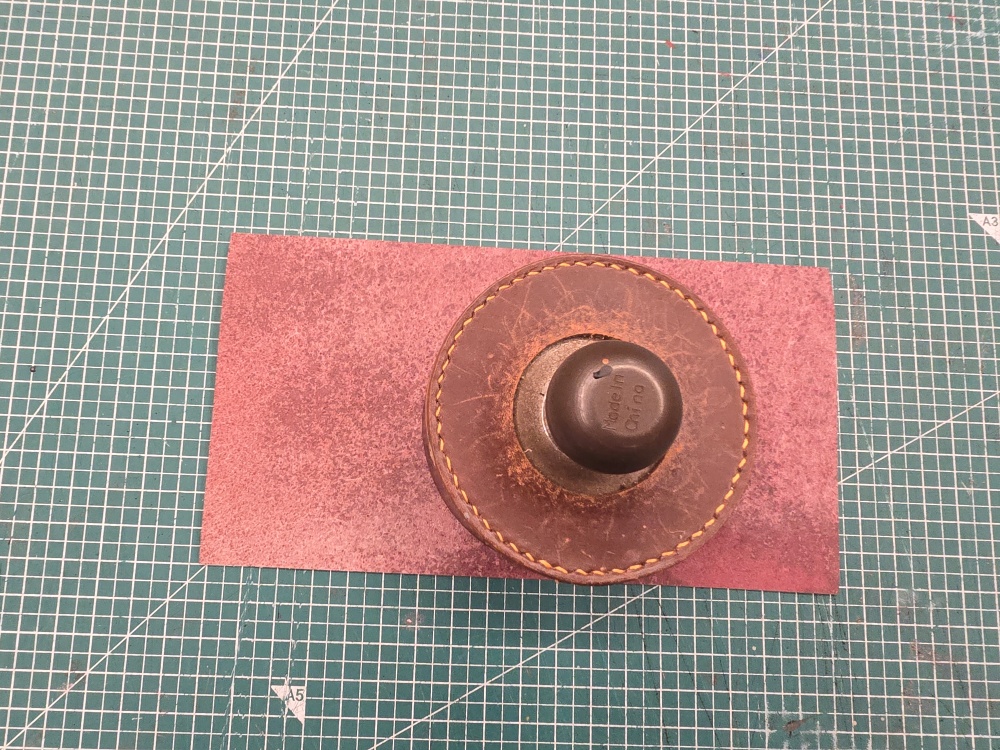
For detailed guidance on the knife angle and curve-cutting method, see How to Cut Chrome-Tanned Leather with a Pattern: Adhesive Fixing, a 10-Degree Knife Angle, and Curve-Cutting Principles.
A Pattern Is a Working Standard for Making the Same Item Repeatedly
A pattern is more than a template for cutting the outer shape of the leather. It becomes a finished working pattern only after the blank pattern board has been cut to size, shaped using cross-folding and straight lines, and completed with the markings required for the work.
An accurate finished pattern helps maintain consistent component dimensions and shapes when the same item is made again. Because a small error in the pattern can become more noticeable during leather cutting and assembly, the pattern shape and markings must be checked before the leather is cut.
For the complete workflow from bag design and pattern making to assembly, see The Complete Leather Bag-Making Process: From Design and Pattern Making to Assembly and Finishing.
Making a leathercraft pattern is not simply a matter of drawing an outline on blank paper. It is the process of dividing a large sheet of pattern board to suit the item, creating an accurate shape through cross-folding and straight-line principles, and adding the markings required to establish the final cutting standard.