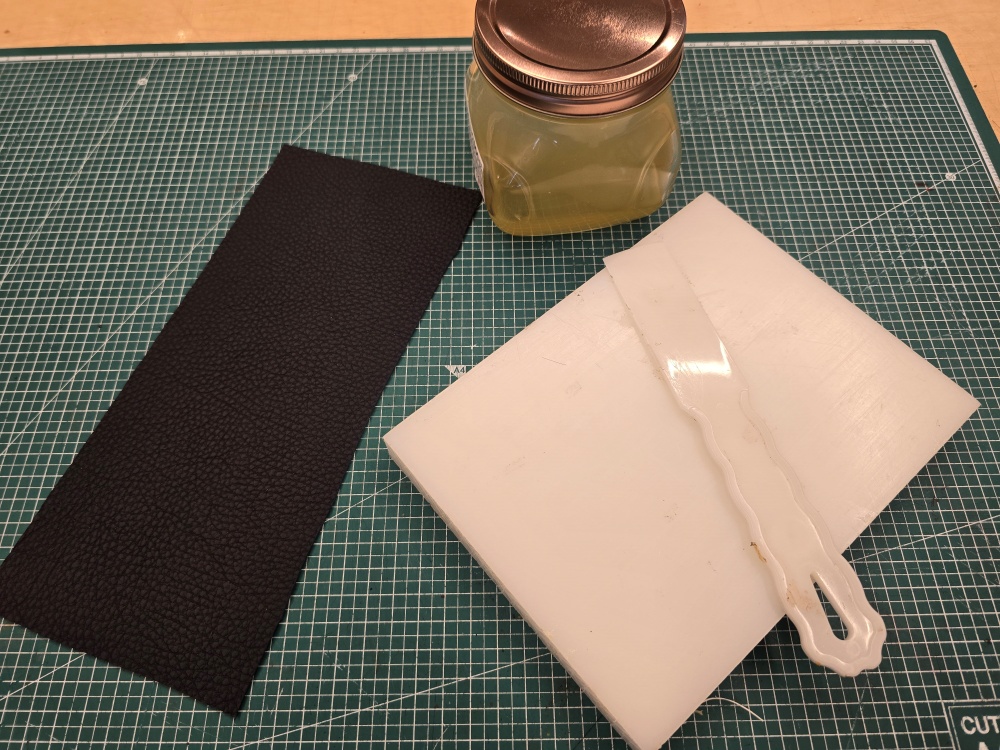
Gluing in leathercraft is not simply a temporary step used to hold components together before stitching. If the bond is unstable, the cutting lines and stitch lines can become misaligned, the leather may shift during punching, and the layers or edges may separate after completion.
It is easy to assume that applying more adhesive will create a stronger bond. However, bond strength is not determined by the amount of adhesive alone. A stable bond requires suitable surface preparation, the correct type and amount of adhesive, proper drying time, even pressure, and sufficient curing time.
The following information is based on the contact adhesives commonly used in leathercraft. Because the recommended application method and drying time vary by product, always check the manufacturer’s instructions before use.
Inspect the Gluing Surfaces Before Applying Adhesive
If dust or loose leather fibers remain on the flesh side, the adhesive may stick to the debris instead of bonding directly with the leather fibers. The layers may initially appear secure but can separate when the leather is bent or the edges are finished.
Before applying adhesive, remove loose leather fibers with a soft brush or dry cloth. If the surface is extremely smooth or coated, lightly abrade only the area to be glued so that the adhesive can bond with the leather fibers.
Abrading too deeply can thin the leather and leave visible marks on the finished surface. The purpose of surface preparation is not to remove a large amount of leather but to create a suitable surface for a stable bond.
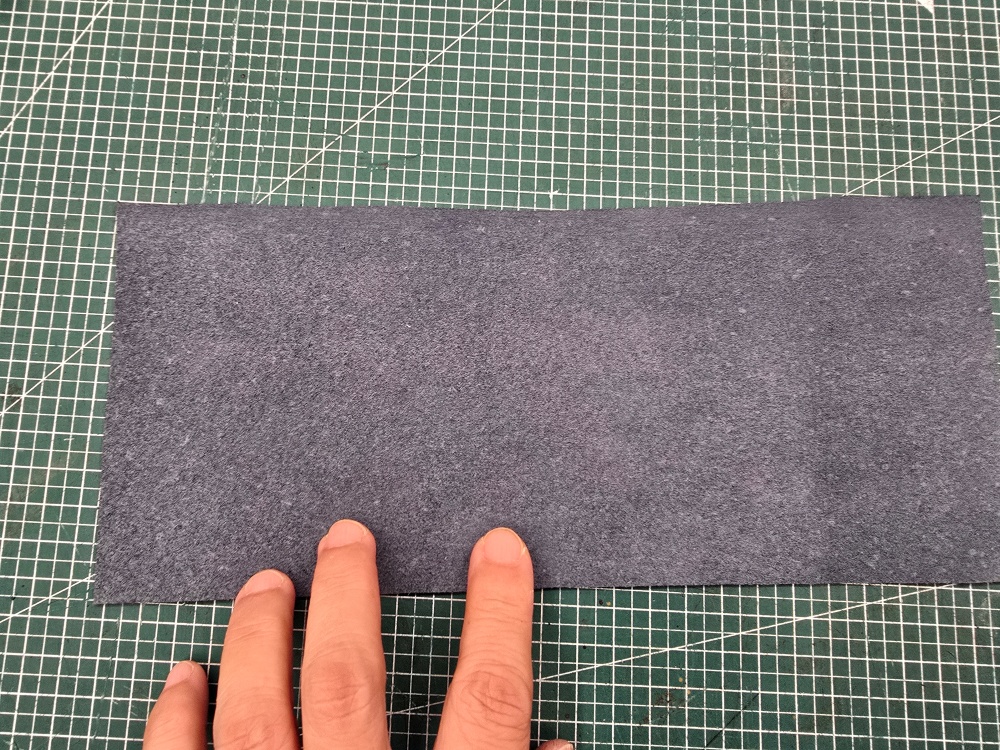
Leather containing a large amount of oil or wax may separate easily even when glued using the same method as ordinary leather. Instead of applying more adhesive, test the combination on a scrap of the same leather first.
More Adhesive Does Not Necessarily Create a Stronger Bond
Applying an excessively thick layer of adhesive increases the drying time and may allow the adhesive layer to shift internally. When the components are pressed together, the adhesive may also squeeze out around the edges, stain the leather surface, or interfere with edge finishing.
If too little adhesive is applied or some areas are left uncovered, lifting will begin where the bond is incomplete. Pay particular attention to edges, curves, and areas where several layers meet.
Instead of building up a thick adhesive layer, apply it thinly and evenly according to the product instructions. Because the porous flesh side of some leathers absorbs adhesive quickly, inspect the first coat and apply additional adhesive only where necessary.
Do Not Judge Drying Time by the Clock Alone
Many contact adhesives create a more stable bond when the required open time is observed instead of joining the surfaces immediately after application. If the adhesive is still too wet, the components may slide out of position and adhesive may squeeze out when the edges are pressed.
However, waiting too long beyond the recommended time can also reduce bonding performance. The actual condition varies according to the workshop temperature, humidity, application thickness, and the absorbency of the leather, so both the product instructions and the condition of the adhesive surfaces must be considered.
Do not apply the same drying time to every adhesive. Record the recommended open time and working time of each product, and use the results of test bonds made with the same leather as a reference for future projects.
The Surfaces Must Be Aligned Correctly at First Contact
Once two surfaces coated with contact adhesive touch, separating and repositioning them may be difficult. If the starting points and center points are misaligned and only the endpoints are forced to match, one component may stretch or wrinkles may form in the middle.
Adhesive should never be used to conceal incorrect pattern measurements or a difference in component lengths. If the endpoints do not match, recheck the cutting dimensions, stitch-line lengths, center points, and the direction in which the leather stretches before pulling the leather into position. How to Accurately Join a Leather Bag Body Panel and Gusset,” which explains why long curves are more reliably aligned by dividing them into smaller sections between reference points instead of gluing the entire perimeter at once.
Adhesive should never be used to conceal incorrect pattern measurements or a difference in component lengths. If the endpoints do not match, recheck the cutting dimensions, stitch-line lengths, center points, and the direction in which the leather stretches before pulling the leather into position.
Apply Even Pressure Across the Entire Glued Area
Pressing only the edges with your fingers may not apply sufficient pressure to the center or curved areas. Use a roller, press, or another tool suitable for the project so that the entire glued area makes even contact.
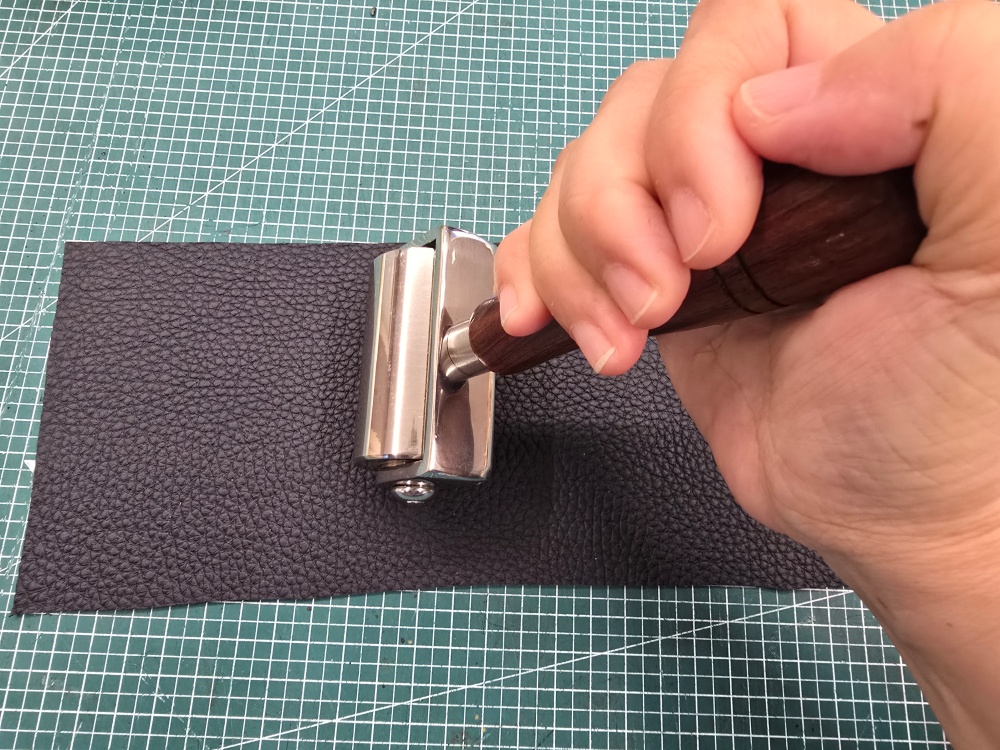
Place a protective material over the leather and control the pressure to avoid marking its surface. Strong pressure may alter the sheen or grain pattern of soft or heavily textured leather, so test the method on a scrap first.
The purpose of pressing is not to force adhesive out of the joint. It is to reduce gaps between the two surfaces and ensure that the adhesive makes even contact with both sides.
Initial Bonding and Full Curing Are Not the Same
The fact that the components no longer move immediately after gluing does not mean that the adhesive has fully cured. Bending, skiving, punching, or sanding the leather before sufficient curing can cause the glued layers to shift or separate at the edges.
The time required before proceeding to the next operation and the time required for full curing vary by product. In load-bearing areas, allow the adhesive to stabilize sufficiently before punching and stitching.
Adhesive is not a structural substitute for stitching. Areas exposed to repeated loads, such as handle attachments, straps, bag bottoms, and areas around metal fittings, must also use suitable stitching, rivets, screws, or reinforcement.
What to Check When Glued Leather Layers Separate
If the glued layers continue to separate, check the following before applying more adhesive.
- Are the bonding surfaces free of dust and loose leather fibers?
- Are oil, wax, or surface coatings interfering with the bond?
- Is the adhesive suitable for this type of leather and its intended use?
- Has the adhesive been applied evenly without any uncovered areas?
- Did you allow the adhesive to dry for the time specified by the manufacturer?
- Were the two components aligned correctly from the moment they were joined?
- Was even pressure applied across the entire bonding surface?
- Was the adhesive allowed to cure fully before proceeding to the next step?
- Is the bonded area repeatedly subjected to pulling or peeling forces after completion?
When using solvent-based adhesive, work in a well-ventilated area and follow all instructions concerning ignition sources and personal protective equipment.
A Good Bond Should Not Draw Attention in the Finished Work
Properly glued leather remains aligned during punching and stitching, and its multiple layers stay together like a single surface during edge finishing.
The key to leathercraft gluing is not using a large amount of strong adhesive. It is properly preparing the leather surfaces, applying the adhesive evenly, and observing the drying, pressing, and curing times required for the product.
Only when these basic steps are performed correctly will the stitch lines and edges remain aligned and the finished item retain its shape over time.