When a leather item is completed, its overall shape and color are usually the first things we notice. However, when viewed up close, the quality of the craftsmanship is often revealed by the leather edges.
No matter how fine the leather may be, the finished piece will not look refined if the cut layers are misaligned, the bonded edges are separating, or the edge paint has an uneven surface.
By contrast, when multiple layers of leather merge into one smooth line and the edge remains consistent in color and thickness, even a small leather item can display a high level of craftsmanship.
Leather edge finishing is not simply the final application of color. It is a structural finishing process created through a sequence of cutting, bonding, skiving, and sanding.
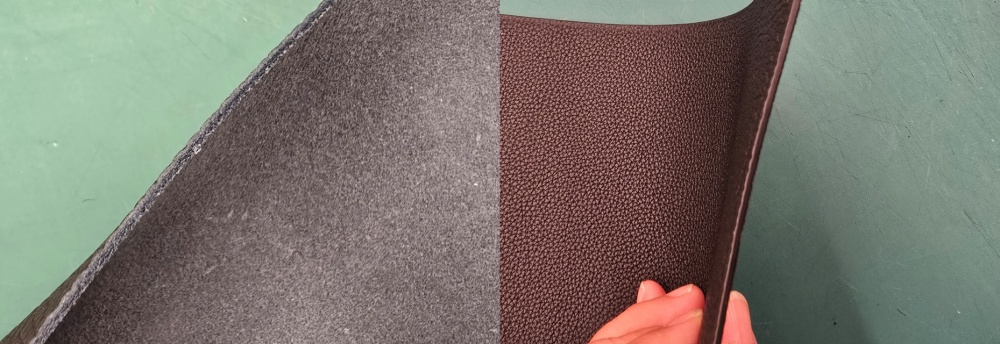
Edge Paint Cannot Conceal an Irregular Edge
Beginners often assume that applying several layers of edge paint will smooth out an uneven edge. However, edge paint alone cannot correct misaligned layers or sections where the bond has begun to separate.
Applying one heavy coat may initially appear to cover the surface. As it dries, however, the coating may become uneven or crack during use, making the irregularities of the edge even more noticeable.
Edge paint cannot create the underlying structure of an edge. It is a final finishing material that adds color and a protective layer to an edge that has already been properly prepared.
The alignment of the leather layers and the condition of the bond must therefore be checked before applying edge paint.
A Clean Edge Begins with Accurate Cutting and Bonding
When several pieces of leather are layered together, their cut lines must align precisely. If even one layer protrudes, that area may require excessive sanding, causing the finished outline to differ from the original pattern.
Adhesive should also be applied evenly up to the edge. If the bond is weak near the edge, the leather layers may separate during sanding, allowing edge paint to seep into the gaps and create an irregular line.
At folded areas or corners where several layers meet, the final thickness must be calculated in advance. If the relationship between leather thickness and skivingis not considered when the layers are assembled, some sections may become disproportionately thick, making it difficult to create a smooth edge profile.
What to Check Before Finishing the Edge
- Are the cut lines of the layered leather precisely aligned?
- Is the bond secure all the way to the edge?
- Does the thickness remain consistent across the skived areas?
- Do the curves and corners match the original pattern?
- Is the edge free of adhesive residue and loose leather fibers?
Any problems discovered at this stage should be corrected before edge paint is applied.
The Purpose of Sanding Is Not to Remove as Much Material as Possible
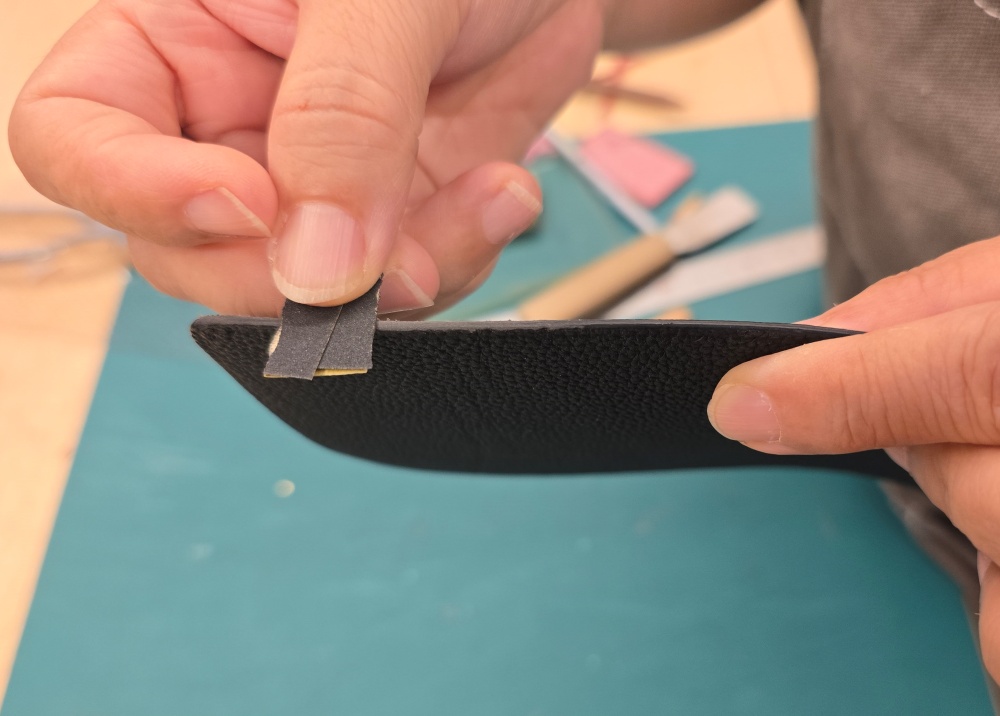
Sanding brings multiple layers of leather into a single, even surface and creates a stable foundation for the edge paint.
The key is not to sand quickly with excessive force, but to maintain consistent pressure and direction. Concentrating on one area can distort a straight edge or create uneven widths.
A relatively coarse abrasive can first be used to level major differences in height, followed by finer abrasives to refine the surface. The exact sanding sequence may vary depending on the type of leather, the condition of the edge, and the finishing product being used.
Sanding is not simply a way to remove rough marks. It is the process of joining the leather layers into one surface while preserving the designed outline.
Excessive sanding can round the corners more than intended or reduce the dimensions of the component. On handles and straps that must remain symmetrical, both edges should be compared frequently throughout the process.
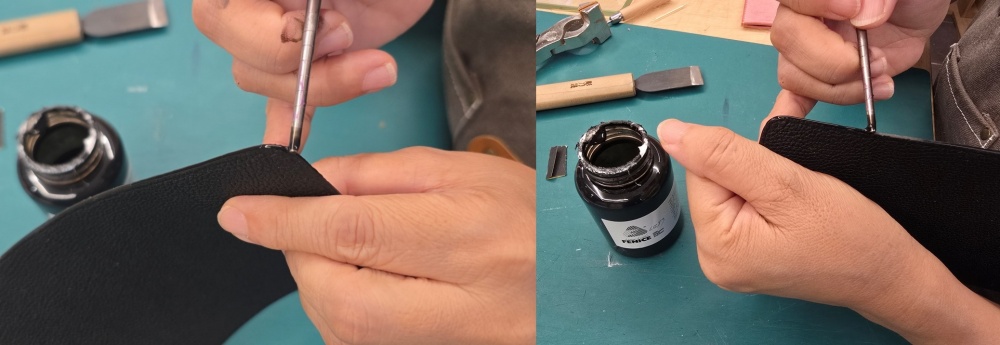
Apply Edge Paint in Thin Layers and Allow It to Dry Fully
A heavy coat of edge paint may seem like a way to reduce the number of applications. However, a thick layer can dry at different rates on the surface and underneath, and the paint can easily pool around curves and corners.
The first coat is not intended to create a perfect gloss. Its main purpose is to reveal small irregularities and provide a foundation for the next sanding stage.
After the coating has dried completely, the surface should be lightly refined. Thin applications and full drying should then be repeated as needed. Because recommended drying times and application methods vary by product, the manufacturer’s instructions should also be followed.
What to Check After the First Coat
- Does the edge paint cover the entire edge without gaps?
- Has the coating pooled around corners or curves?
- Have any gaps between the leather layers reappeared?
- Are there any obvious marks left by the applicator?
What to Check During the Second and Later Coats
- Has the previous coat dried completely?
- Are the surface level and color consistent?
- Have the straight lines and curves retained their intended shape?
- Has the coating become thicker than necessary?
The number of coats alone does not determine the quality of the finish. Each layer should be applied only as needed after inspecting the condition of the edge.
Slow Down When Working Around Curves and Corners
It is relatively easy to apply edge paint at a consistent speed along a straight edge. On convex curves, concave curves, and sharply changing corners, however, the amount of paint can easily become uneven.
Around curves, work more slowly to prevent the applicator from slipping off the edge and staining the leather surface. Avoid loading the tool with too much paint at once.
Pausing at a corner can cause the edge paint to pool. When changing direction, maintain a continuous movement while keeping the amount of paint consistent.
On edges that move repeatedly, such as handles and folded sections, the flexibility of the finished coating is just as important as its appearance. An excessively thick coating is more likely to become damaged through repeated bending and friction.
The Edge Line and Stitching Line Are Seen Together
Along the outline of a bag, the edge line and stitching line run beside one another. If either line becomes uneven, irregularities in the other line also become more noticeable.
If one side of the edge is sanded too heavily, the distance between the edge and the stitching will appear inconsistent. Conversely, if the stitch spacing and thread thickness are too visually dominant for the thickness of the edge, the edge line may appear comparatively weak.
Therefore, when planning the relationship between thread thickness and stitch spacing, you should also consider the finished edge thickness and the edge line.
- Avoid excessively thick thread on thin, delicate edges.
- Balance the visual weight of the edge and stitching on thicker bag components.
- Maintain a consistent distance between the stitching holes and the edge.
- Check that the stitching line and edge line remain naturally parallel around curves.
A well-finished edge and well-executed stitching are not completed independently. They share the same outline and work together to establish the proportions of the piece.
Edge Color Is Part of the Design
Using an edge paint color similar to the leather creates a calm and refined appearance. A strongly contrasting color, on the other hand, makes the edge itself a prominent design element.
Contrasting colors attract attention, but they also reveal small irregularities and application marks more easily. The stronger the color contrast, the more precise the cutting and sanding must be.
The colors of the thread and edge paint should also be considered together. The criteria for choosing Vinymo MBTinclude not only thread thickness and stitching stability, but also the harmony between the leather and edge colors.
Edge color should not be chosen to conceal mistakes. It is a design element that works with the leather, thread, and metal hardware to shape the character of the finished piece.
Perform the Final Inspection Under Angled Light
A finished edge should not be inspected only from the front. Angled light makes subtle waves and application marks visible that may otherwise remain hidden.
Gently run a fingertip along the edge to check for sudden changes in height. The coating must be fully dry before touching it, as handling it too soon can leave marks on the surface.
Final Inspection Checklist
- Does the straight edge remain even without bending or wavering?
- Are the curves symmetrical on both sides?
- Are the edge color and thickness consistent?
- Is the leather surface free of edge paint stains?
- Are the folded areas free of cracking or lifting?
- Is the distance between the edge line and stitching line consistent?

Edge Finishing Is the Result of the Entire Making Process
A refined edge is not created simply by applying multiple coats of edge paint. Precise cutting, consistent skiving, secure bonding, and careful sanding that preserves the intended shape must come first.
Only after thin applications and complete drying are repeated will multiple layers of leather begin to appear as one continuous edge.
The quality of an edge finish is not determined by the final stroke of paint. It is the visible result of how accurately every preceding stage of construction has been completed.
From a small card holder to a large bag, the edges reveal the maker’s judgment and working process without disguise. The habit of inspecting each stage without rushing produces leather goods that remain refined even after years of use.