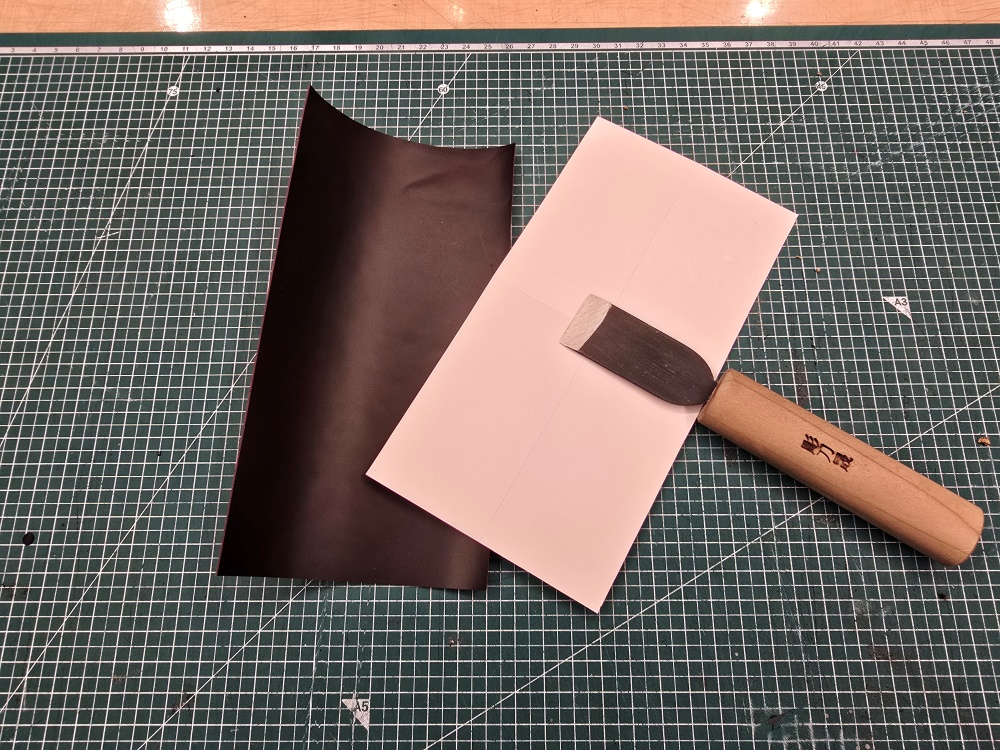
Accurate cutting in leathercraft directly affects the shape and cut edges of the finished piece. Even when the same pattern is used, the result can vary depending on how the cutting knife is held, the angle of the blade, and how the pattern is secured.
A cutting knife is more than a tool for simply cutting leather. It transfers the shape of a completed paper pattern accurately onto the leather, so you must learn both how to keep the blade against the pattern edge and how to move the workpiece.
Before using a cutting knife, first review [How to Make a Leathercraft Pattern: From Blank Pattern Paper to a Finished Pattern and Leather Cuttingto understand the pattern-making process.
The Exact Purpose of a Leathercraft Cutting Knife
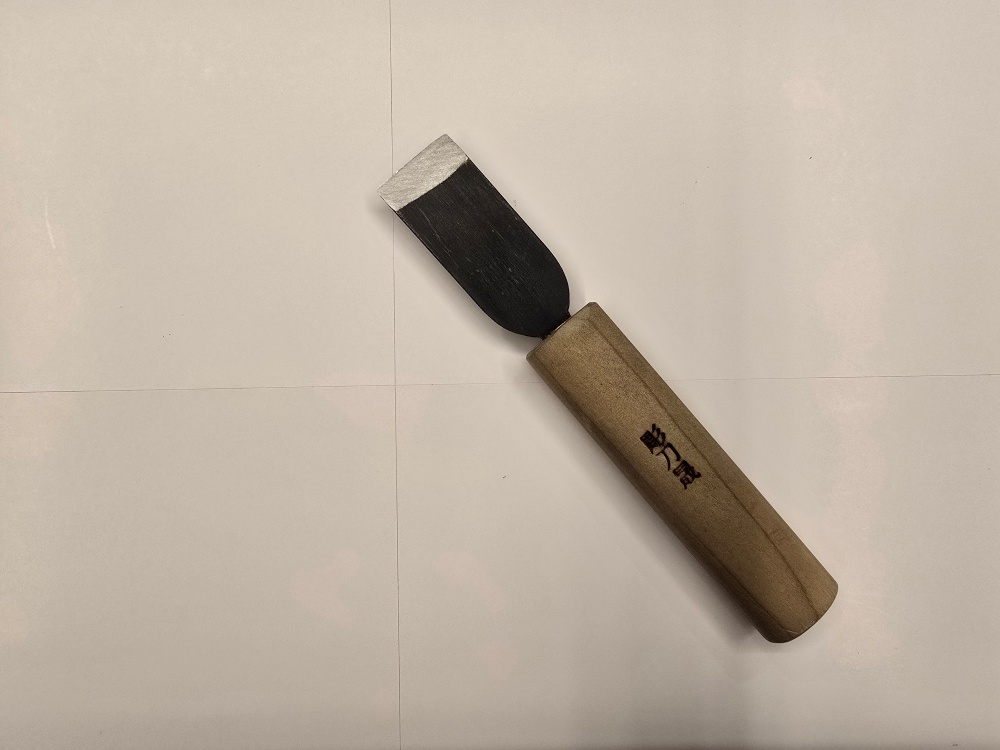
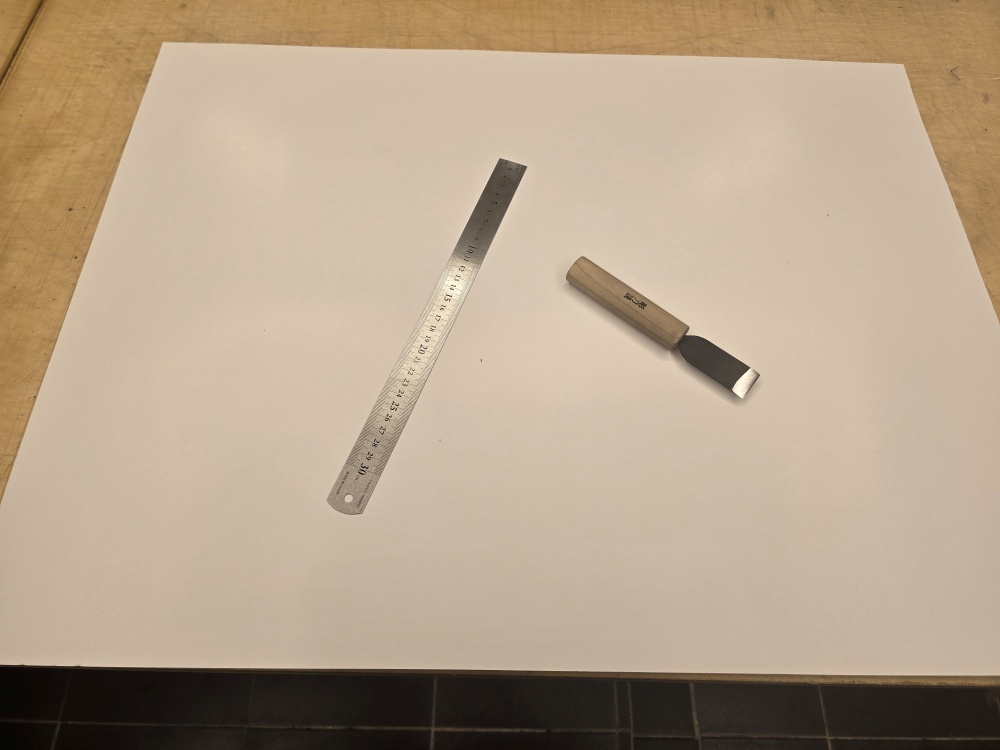
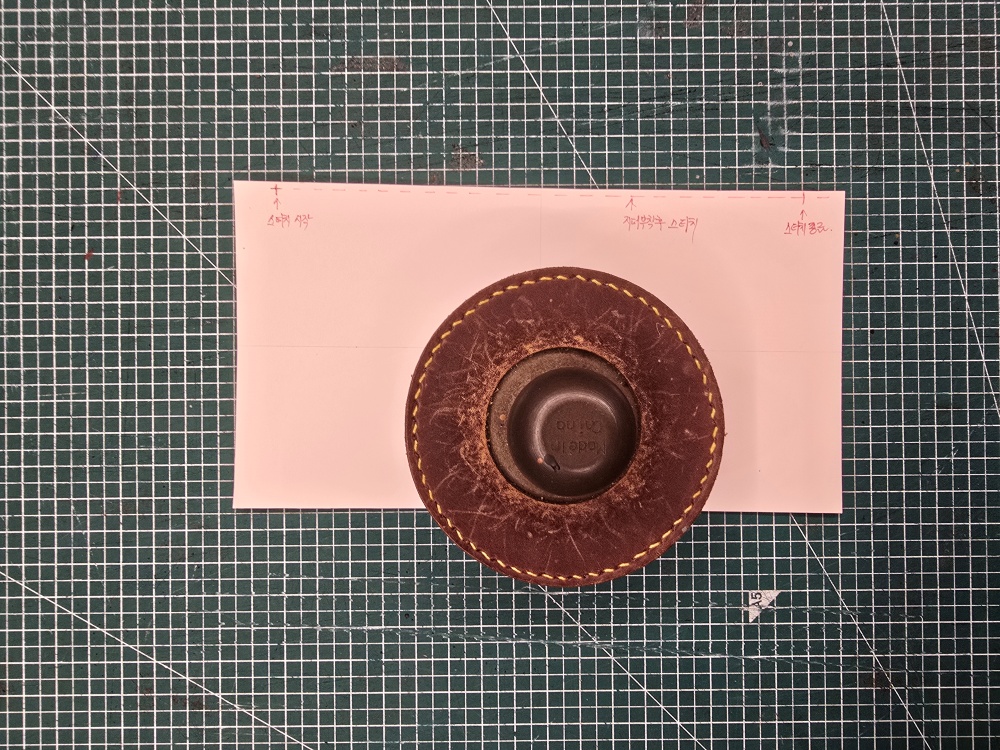
A leathercraft cutting knife is used to cut leather accurately by following the outline of a completed paper pattern. At Leather Studio YEGAK, we do not use a ruler when cutting leather. We place a firm handmade paper pattern on the leather and cut along its edge.
The purpose of a cutting knife is not limited to separating a piece of leather. It helps the cut leather match the pattern, keeps the cut edge close to a vertical angle, and preserves the intended shapes of straight lines and curves.
If the leather is not cut accurately, its edges may not align after gluing, or excessive edge correction may be required. Cutting should therefore be approached as a stage that already determines the final shape of the piece.
How to Use a Cutting Knife in Actual Leatherwork
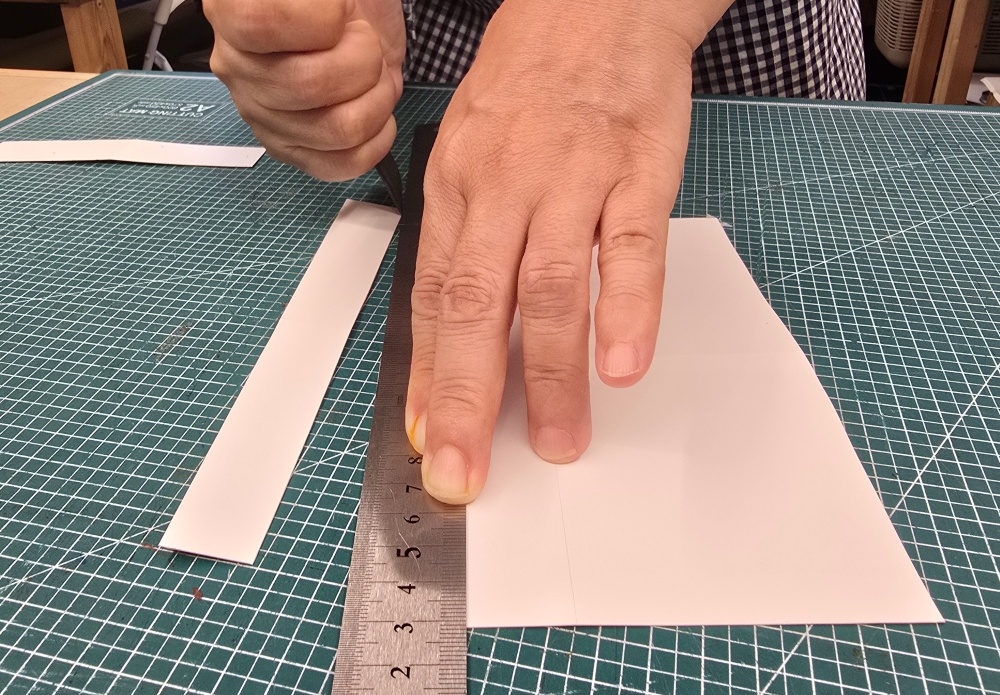
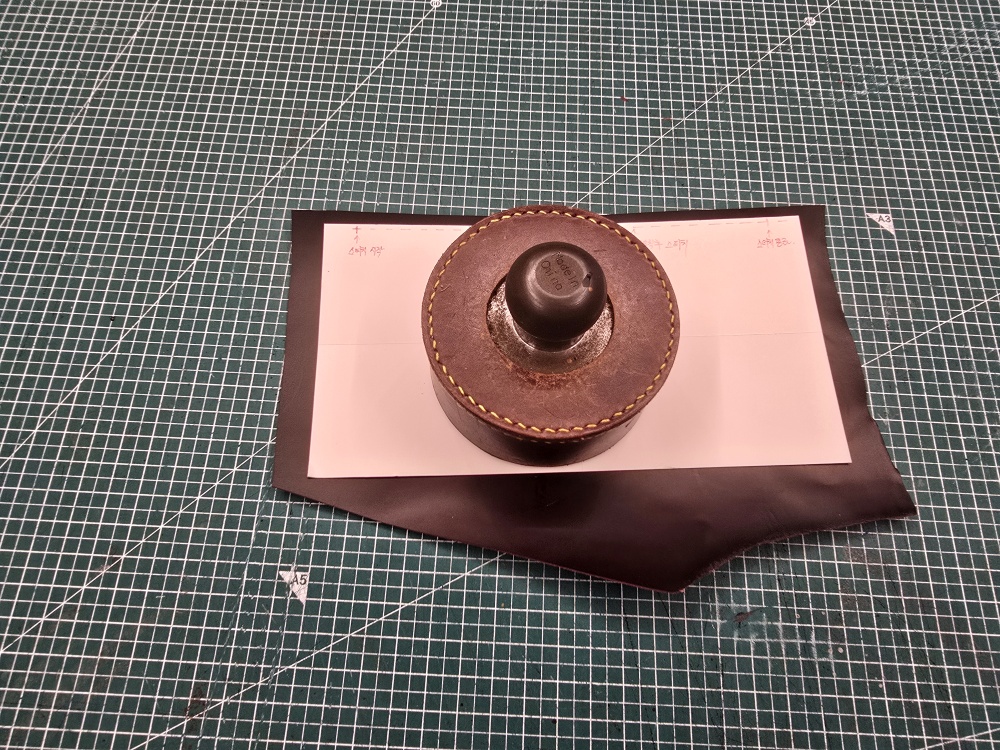
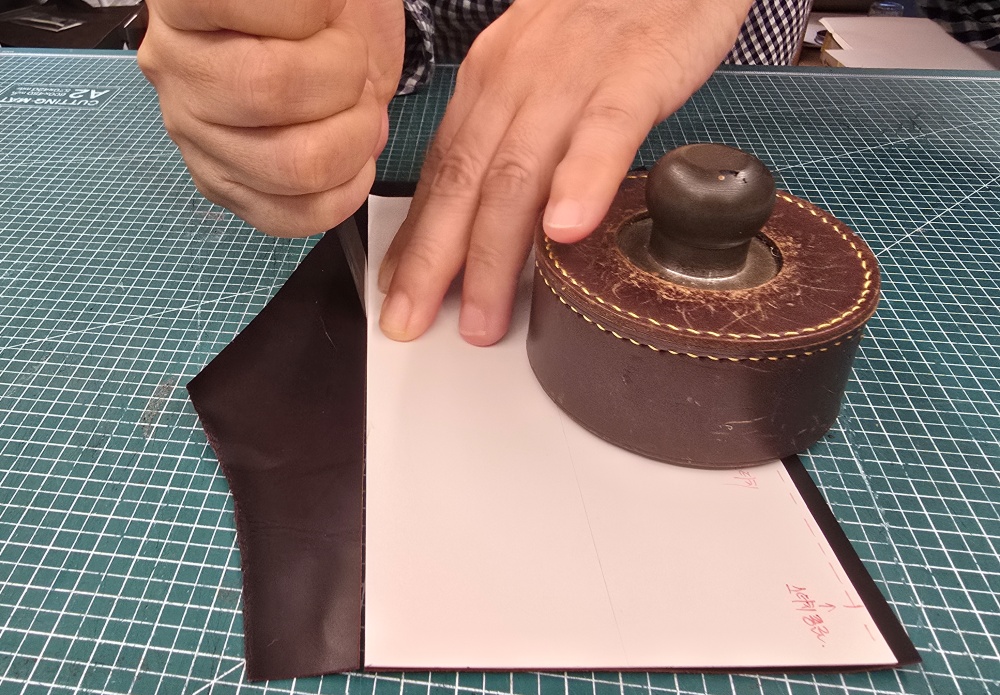
First, place the completed paper pattern on the section of leather to be cut. Position a pattern weight in the center to prevent the pattern from moving, and use your other hand to press down near the area where the knife will pass.
Because a pattern can move easily on chrome-tanned leather, apply a small amount of leather adhesive to the edge of the paper pattern and place it on the leather as if lightly attaching it. Placing a pattern weight on top helps prevent the pattern from shifting during cutting.
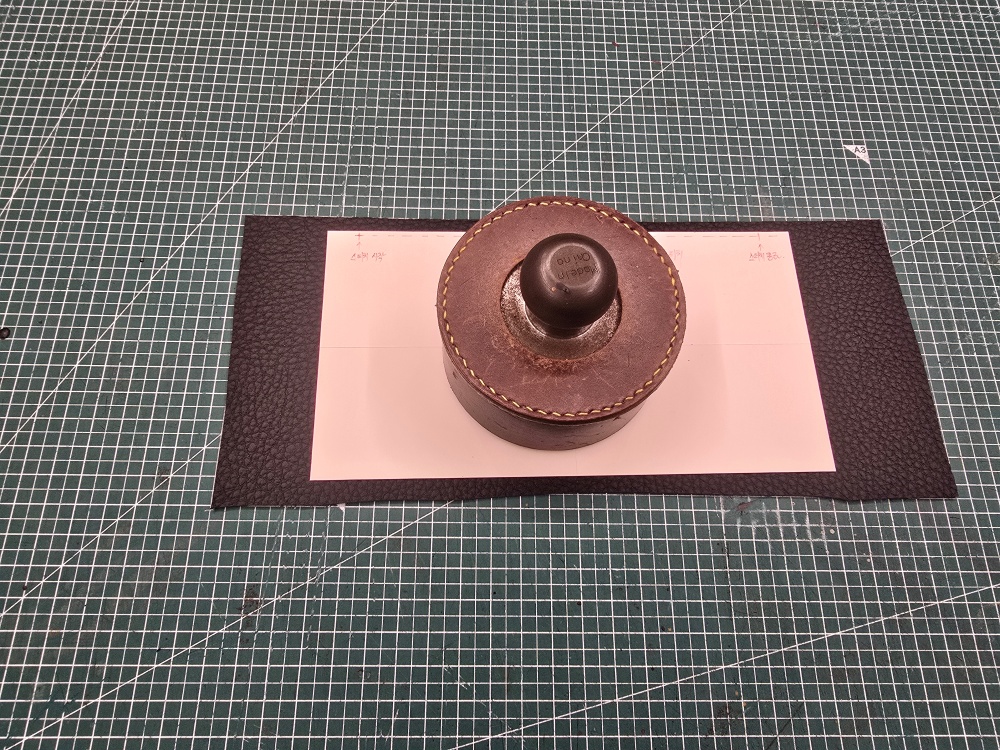
Keep the blade firmly against the edge of the paper pattern. If there is a gap between the blade and the pattern, the leather will be cut larger than the pattern. If the blade moves underneath the pattern edge, the leather may be cut smaller than intended.
Press down near the cutting area, but never place your fingers in the path of the blade. Do not try to hold down the entire pattern at once. Reposition your hand and the pattern weight securely as you move to each cutting section.
Correct Hand Position and Blade Angle
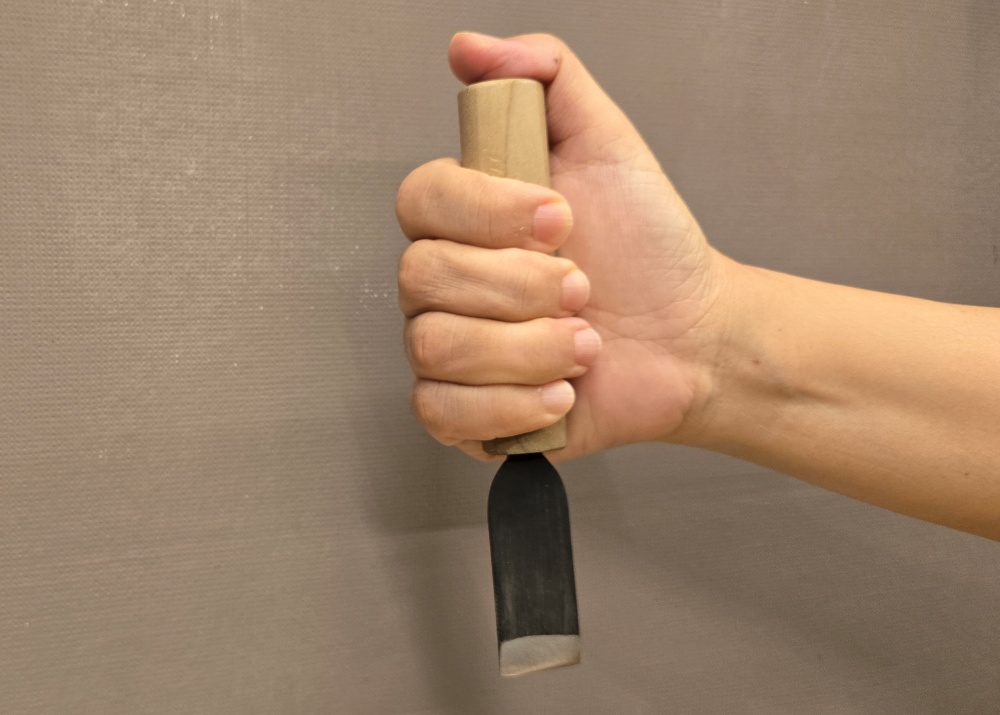
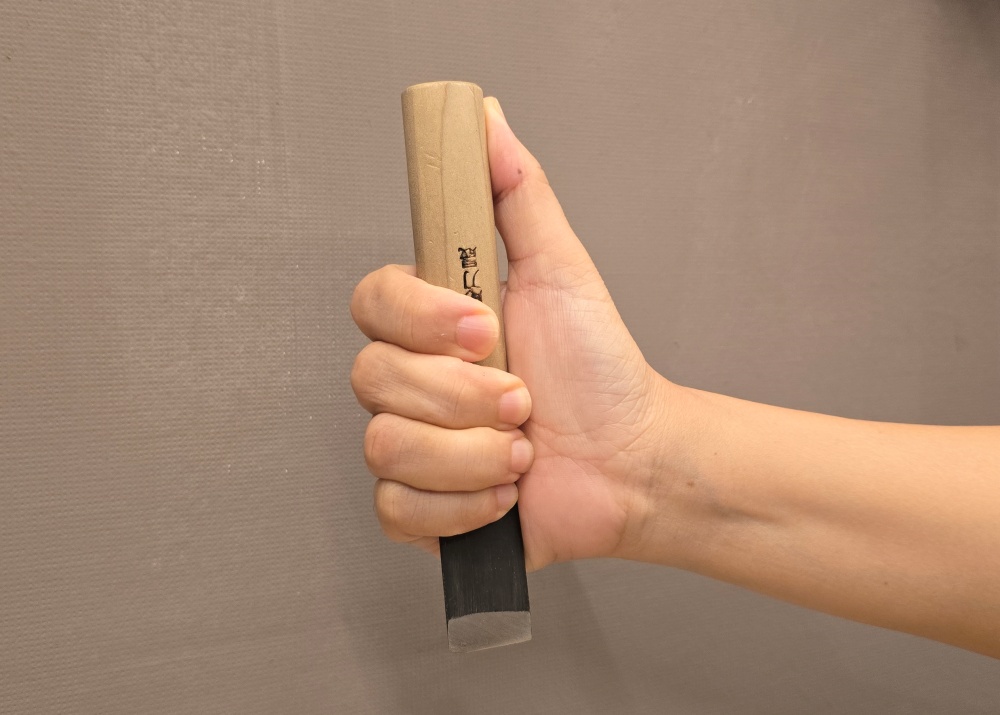
Hold the cutting knife so that your arm follows the cutting direction naturally without bending your wrist excessively. Gripping the handle too tightly can stiffen your wrist and cause the blade to move away from the pattern edge.
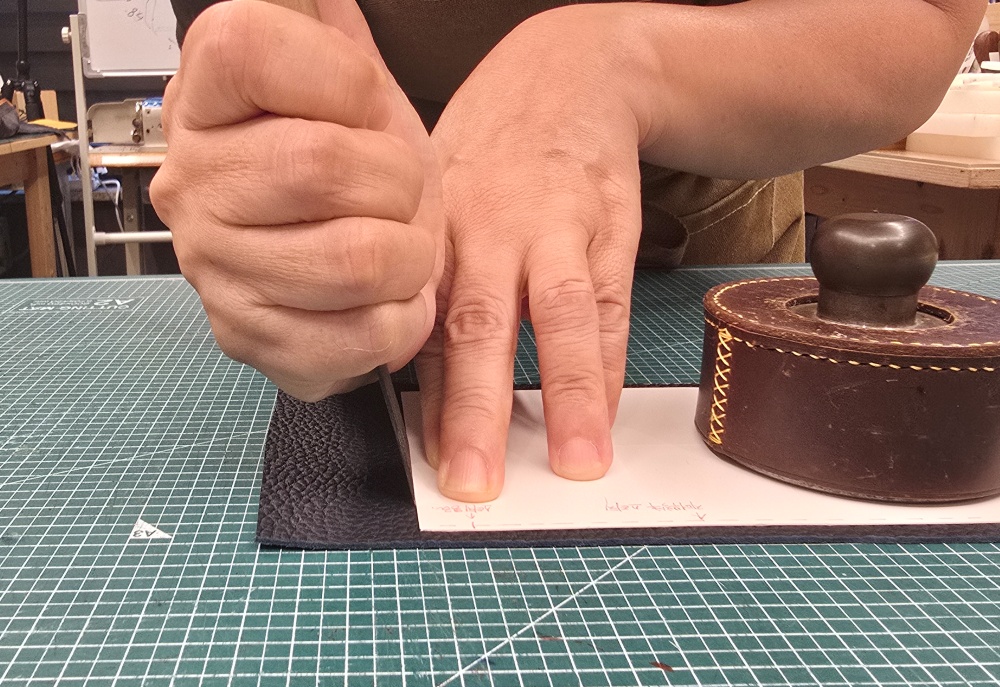
Do not hold the blade completely upright. Because the tip of the cutting knife is formed at an angle, holding the knife vertically can produce a slanted cut edge.
Tilt the knife approximately 10 degrees outward from the pattern. This compensates for the angled shape of the blade tip and helps create a leather edge that is close to a precise 90-degree angle.
The approximate 10-degree angle is not an absolute rule that applies identically to every knife. It is based on the shape of the blade tip used in our workshop. If your blade has a different shape, make a test cut on a scrap of leather and inspect the resulting cut edge.
Cut Curves by Connecting Short Straight Cuts
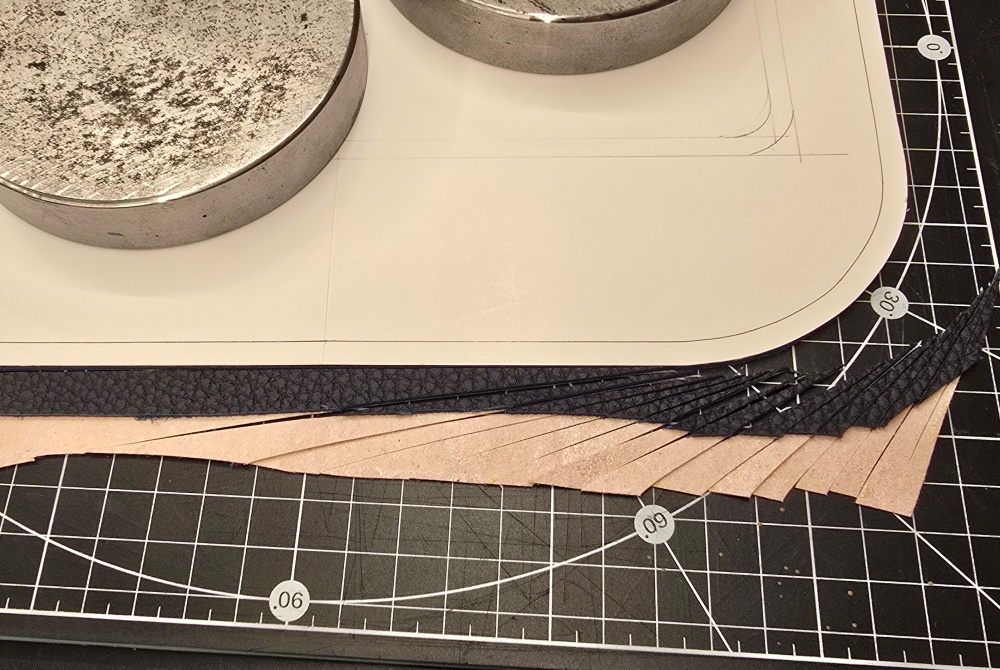
When cutting a curve, forcing the knife around the curve or twisting your wrist in an attempt to complete it in one motion can cause the blade to move away from the pattern edge.
Think of circles and curves as shapes made from a continuous series of short straight lines. Make one short straight cut, rotate the workpiece approximately 5 degrees, and make another short straight cut. Repeating this process allows you to cut a curve accurately without forcing the blade to turn.
Rather than forcing the knife to change direction, rotate the workpiece and pattern a little at a time. After each short cut, check that the blade remains firmly against the pattern edge.
How to Check Cutting Accuracy
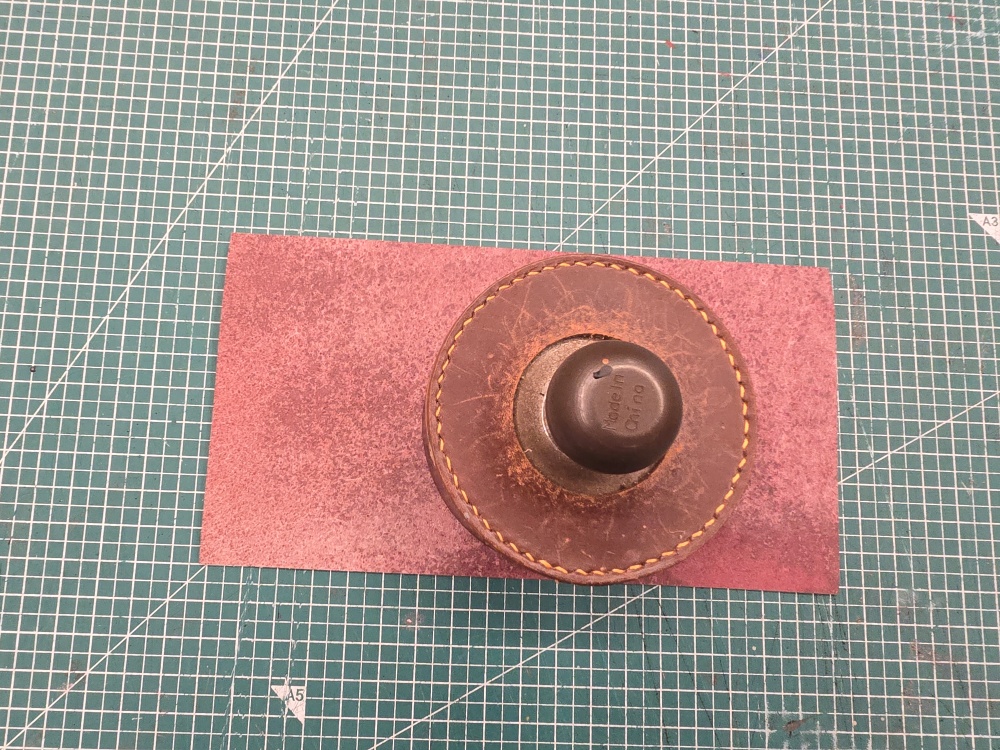
After cutting, keep the pattern and leather aligned and inspect them from both the front and back.
When viewed from the front, no leather should be visible beyond the edge of the paper pattern. When the piece is turned over, no part of the paper pattern should be visible beyond the edge of the leather.
If leather is visible from the front, the leather has been cut larger than the pattern. If the paper pattern is visible from the back, the leather has been cut smaller than the pattern. The pattern and leather match accurately only when neither one extends beyond the other from either side.
Common Mistakes Made by Beginners
The first mistake is cutting without securing the pattern sufficiently. If you only place a weight in the center and do not press down near the cutting area, the pattern edge may move under the pressure of the knife.
The second mistake is cutting with the blade positioned away from the pattern edge. Even a small gap between the blade and the pattern can change the final dimensions of the leather.
The third mistake is holding the knife completely upright. If the cutting knife has an angled blade tip, holding it vertically may prevent the cut edge from forming an accurate 90-degree angle.
The fourth mistake is twisting both the wrist and the knife in an attempt to cut a smooth curve in one motion. Curves should be cut by rotating the workpiece little by little and connecting a series of short straight cuts.
The fifth mistake is continuing to use a dull blade. A dull blade requires more force, which can cause it to move away from the pattern edge or leave a rough cut surface.
What to Check When Choosing a Leathercraft Cutting Knife
When choosing a cutting knife, first check whether the blade is held securely rather than focusing on its price or appearance. If the blade moves inside the handle, it will be difficult to maintain a consistent cutting line even when the knife is held against the pattern edge.
The handle should not feel excessively light or slippery in your hand. Choose a shape that reduces strain on your fingers and wrist during extended use and allows you to control the cutting direction steadily.
If the knife allows you to adjust how far the blade extends, check that its locking mechanism works securely and prevents the blade from sliding back into the handle during use.
For a knife with replaceable blades, it is also important to check whether replacement blades are readily available. Accurate and safe cutting requires replacing a dull blade when necessary rather than continuing to use it for too long.
You should also examine the shape of the blade tip. The angle at which you hold the knife may need to change depending on how the tip of the blade is formed.
How to Maintain and Store a Cutting Knife

After finishing your work, remove any leather dust and adhesive remaining on the blade. Hardened adhesive can create resistance during cutting and prevent the leather edge from being cut cleanly.
Store the knife in a dry place to prevent rust from forming on the blade. Retract a replaceable blade completely into its handle when it is not in use, and always place a protective cover over a fixed blade.
Check whether the blade needs to be replaced if it no longer passes smoothly through the leather or requires more force than before. You should also inspect the blade when the cut edge becomes rough or the knife feels as though it is pushing the leather rather than cutting through it.
Store new and used blades separately. Wrap discarded blades in paper or tape so that the sharp edges are not exposed. When possible, use separate knives for cutting pattern paper and cutting leather.
Accurate Cutting Begins with Proper Tool Use
Purchasing a good cutting knife alone does not guarantee accurate cutting. The pattern must be secured against movement, the blade must remain firmly against the pattern edge, and the knife must be held at an angle suited to the shape of its blade tip.
Learning to rotate the workpiece gradually and connect short straight cuts instead of attempting to cut a curve in one motion makes it possible to cut complex patterns more steadily.
After cutting, confirm that no leather is visible beyond the pattern from the front and that no paper pattern is visible beyond the leather from the back. Cutting is complete only after this check confirms that the pattern and leather match accurately.