You may choose a leather bag PDF pattern because you like the finished photos, only to run into difficulties while gathering the materials. The required leather thickness may be hard to find, the tutorial may use tools you do not own, or the internal construction may be more complicated than expected.
The key to choosing a leather bag PDF pattern is to consider both the design you want to make and what you can realistically make with your current skills and resources. After choosing a design, check the project difficulty, leather and hardware requirements, tool specifications, and instruction format in turn.
This article is not a guide to printing PDF patterns. Instead, it explains what to look for in a product description and what to check before buying.
First, Distinguish a PDF Pattern from a Materials Kit
A PDF pattern is a digital template that you download and use. The same design may be sold separately as a PDF file, a paper pattern, an acrylic template, or a materials kit. Even if the listing prominently displays a finished bag, read what is actually included in the product you have selected.
Also check which supporting materials come with the pattern. A file that only shows the pieces to cut leaves more decisions to you than a package that includes assembly diagrams, a materials list, and step-by-step photos or videos.
In the product description, distinguish the resources provided with the pattern file from the materials and tools you must obtain separately. An included materials list does not mean the physical materials are included.
Look Beyond the “Beginner” Label to Identify Unfamiliar Tasks
A small project is not necessarily an easy one. Even a small bag may require you to align and hand-stitch components in a confined space if it includes a lining, a zippered pocket, or several compartments. Conversely, the assembly sequence of a larger bag may be relatively easy to understand if its structure is simple.
When assessing difficulty, look for tasks that are unfamiliar to you rather than judging by the finished size.
- Does the project require matching the curves of the body and side panels?
- Must the lining be made separately and then fitted inside the outer bag?
- Does a zipper or metal frame need to be positioned precisely?
- Do areas with overlapping layers require skiving or reinforcement?
- Must any work be completed in advance because those areas will be difficult to reach after assembly?
The presence of these tasks does not mean a beginner cannot make the bag. What matters is whether the instructions show unfamiliar tasks clearly enough. If several unfamiliar construction details are combined and the explanations are brief, it is more realistic to treat the pattern as one that requires some skills to be learned first.
If a making tutorial is publicly available, preview the sections that look difficult before buying. What matters is not the total running time, but whether you can see how to orient the pieces and which parts to join first.
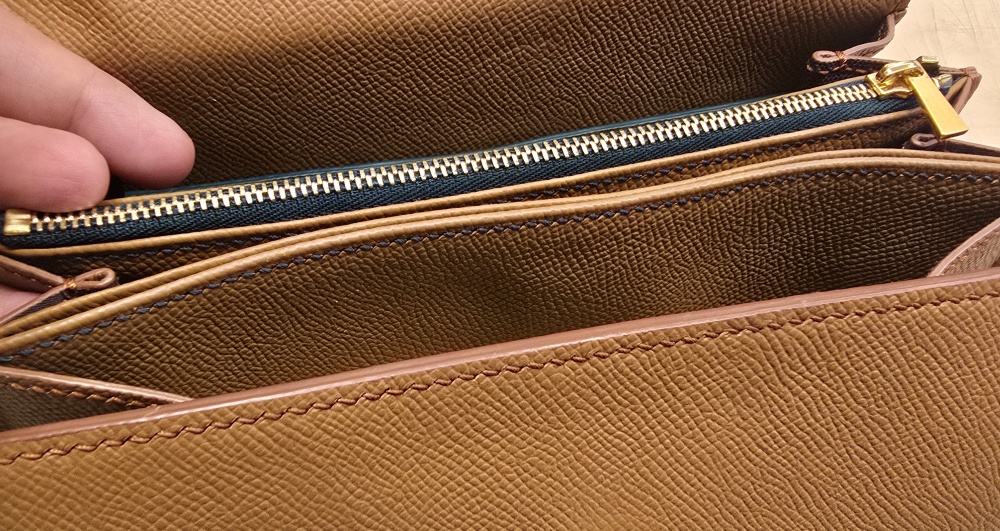
Check Whether You Can Match the Leather's Thickness and Firmness
After checking the leather type and thickness in the materials list, consider how firm and flexible the leather is. Leather of the same thickness can have different properties, affecting how the bag holds its shape and how it folds.
Check whether the outer leather and lining use the same thickness, whether different parts require different leathers, and whether separate reinforcement materials are needed. If areas such as handles or folds need to be thinned, look for guidance on where to skive and how the skiving should be done.
Do not assess leather requirements by area alone. Even if your offcuts provide enough total area, they may not be suitable if you cannot cut the largest body panel from a single piece. Compare the dimensions of the largest pattern piece with the length and width of the leather you plan to use.
If you cannot obtain the recommended leather and want to substitute another, ask the seller whether the alternative is suitable. Do not assume that changing the thickness or firmness will produce the same result with the original pattern.
The article Why Leather Bag Pattern Measurements Differ from Finished Dimensions: Leather Thickness, Folds, and Assembly Allowancewhere they are explained in detail.
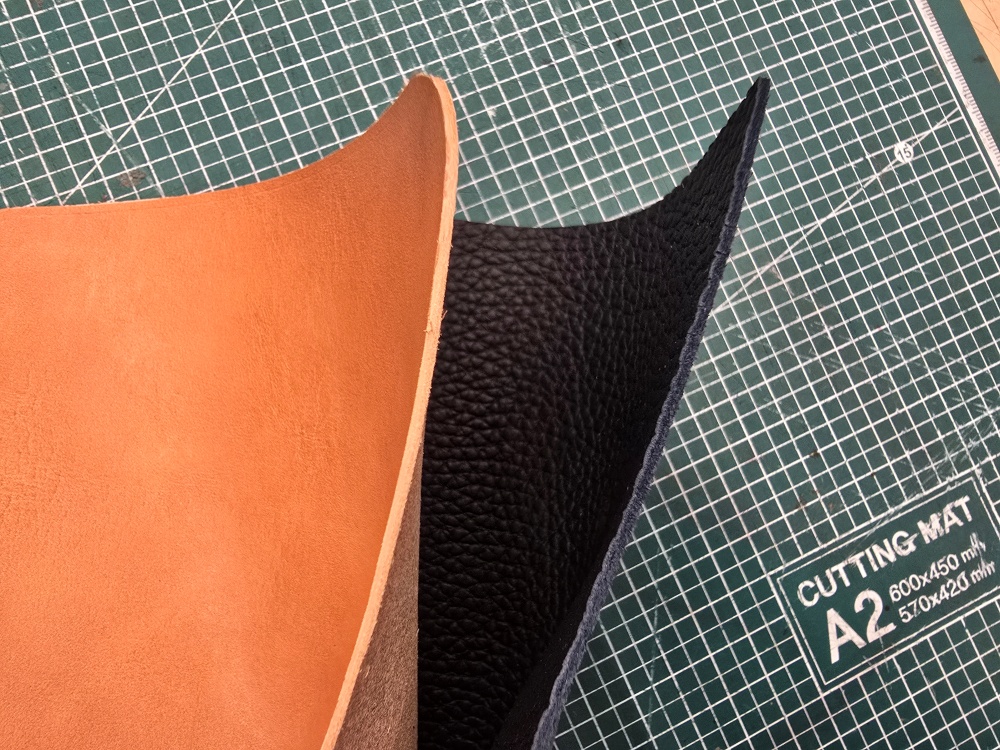
Do Not Choose Hardware by Shape and Color Alone
A buckle or D-ring may resemble the one in the photos but still be unsuitable if its strap opening or attachment method differs. Check which part of the hardware each measurement in the product description refers to.
For zippers, check the type and end-finishing method as well as the required length. For snaps and rivets, check whether their specifications suit the combined thickness of the layers and whether setting tools are required. If the bag is designed around a particular frame or closure, being able to obtain that hardware is an important purchasing consideration.
Check that the hardware list provides the following information.
- The types and quantities required
- Dimensions suited to the strap width or attachment location
- Tools needed for installation
- Guidance on alternatives if the specified items are unavailable
Even if the pattern itself is inexpensive, the total preparation cost will change if you need to order hardware from overseas or buy additional tools. Before paying, calculate the file cost separately from the materials and tool costs.
Compare Actual Tool Specifications, Not Just Tool Names
A description that simply says “pricking irons, needles and thread required” does not tell you whether your existing tools are suitable. Check whether the pattern is intended for hand stitching and what hole-making method and thread thickness it uses.
For patterns with pre-marked hand-stitching holes, pay particular attention to the guidance on hole spacing and punching tools. If the marked spacing differs from your pricking irons, it is safer to check whether the design allows adjustments before changing the hole positions. Altering the hole layout also means reviewing the hole counts and alignment marks on the pieces that will be joined.
Check the instructions to see whether circular hole symbols indicate the actual hole shape or merely mark punching locations. Do not assume from the symbols alone that your pricking irons are unsuitable, or that any tool will work.
The guide [How to Choose Leathercraft Needles: The Relationship Between Thread Thickness, Hole Size and Needle Tips]for more details.
Instructions Should Show Difficult Connections Clearly
Finished photos help you choose a design, while making instructions help you carry out the work. Even with several finished photos, a beginner may lack essential information if it is unclear how the internal components are joined.
In a preview, check whether the component names correspond to the pattern labels, whether you can distinguish front and back orientations, and whether the sequence of gluing, punching and hand stitching is explained. Pay particular attention to areas that become hidden after assembly, such as internal pockets, handle attachment points, and zipper ends.
If a video is included, check that the link works and that you can understand the language or subtitles. If the product description provides a preview or making tutorial, watch it before buying to see whether the more difficult assembly steps are clear.
Also check whether you are expected to follow the instructions independently or whether there is a way to ask questions if you get stuck. Do not assume that buying a PDF includes individual lessons or unlimited making support.
Check File Formats and Finished Dimensions Before Buying
PDF patterns do not all use the same paper sizes or layout. Check whether the listing provides tiled A4 pages, Letter-size pages, or a separate large-format file. Printing settings and scale verification must be addressed separately when you begin making the project.
Check the order of the finished bag's dimensions—width, height and depth—and whether the units are millimeters, centimeters or inches. External dimensions alone do not reliably indicate usable interior space, so you need internal measurements or examples of what fits if you plan to carry a laptop or another specific item.
Enlarging the entire pattern simply because an item will not fit is a separate design adjustment. It can change hardware attachment positions and hole spacing as well as the bag's size. First check whether the pattern includes multiple sizes or resizing guidance.
Decide Whether to Buy, Ask Questions or Wait
You do not need to be completely familiar with every aspect of a leather bag PDF pattern before choosing it. However, you do need the information and resources to work through anything unfamiliar.
If you can obtain the necessary materials and the instructions adequately explain unfamiliar tasks, you can plan the project after purchasing. If important information is missing, such as hardware specifications or leather requirements, ask before paying.
If many construction details are unexplained and the necessary tools are difficult to obtain, it is better to start with another pattern that suits your current situation. Whether a design is good and whether it is suitable for you right now are two different judgments.
Choosing a leather bag PDF pattern is not simply about finding the easiest product. It is about checking the making requirements in detail before buying, so that you can work toward completing the bag you want to make.