Tag: leather bag gusset

  • 가죽가방 몸판과 옆판을 정확하게 연결하는 방법: 중심점·곡선·봉제 장력

    How to Accurately Join a Leather Bag Body Panel and Gusset: Alignment Points, Curves, and Stitching Tension

    Joining a leather bag body panel and gusset may appear to be a simple matter of attaching two flat components. In practice, however, this is a critical stage that determines the bag’s three-dimensional form. Even when both components have been cut accurately, misaligned reference points, misplaced curves, or inconsistent stitching tension can cause the bag to twist to one side or develop wrinkles around the corners.

    Within the complete leather bag-making process—joining the body panel and gusset marks the point at which a flat pattern becomes a three-dimensional structure. The goal is not to force the two endpoints together. Their lengths and curves must be distributed evenly according to the alignment marks and stitch lines shown on the pattern.

    Compare Stitch-Line Lengths, Not Cutting-Line Lengths

    Before joining the body panel and gusset, comparing only their cutting edges does not provide an accurate indication of how they will fit after assembly.

    On straight components, the difference between the cutting-line length and stitch-line length may be small. On curved components, however, the outer cutting edge and inner stitch line have different lengths. This difference becomes especially important around bottom corners with a tight curve, where even a small change in the stitch-line position can alter the actual joining length.

    The correct approach is therefore to compare the lines along which the stitching will be placed, rather than simply comparing the outer edges of the gusset and body panel.

    Just as leather bag pattern measurements differ from finished dimensions—the answer lies in this same structure. A pattern must account not only for the intended finished size but also for leather thickness, stitch lines, curve radii, and assembly allowance.
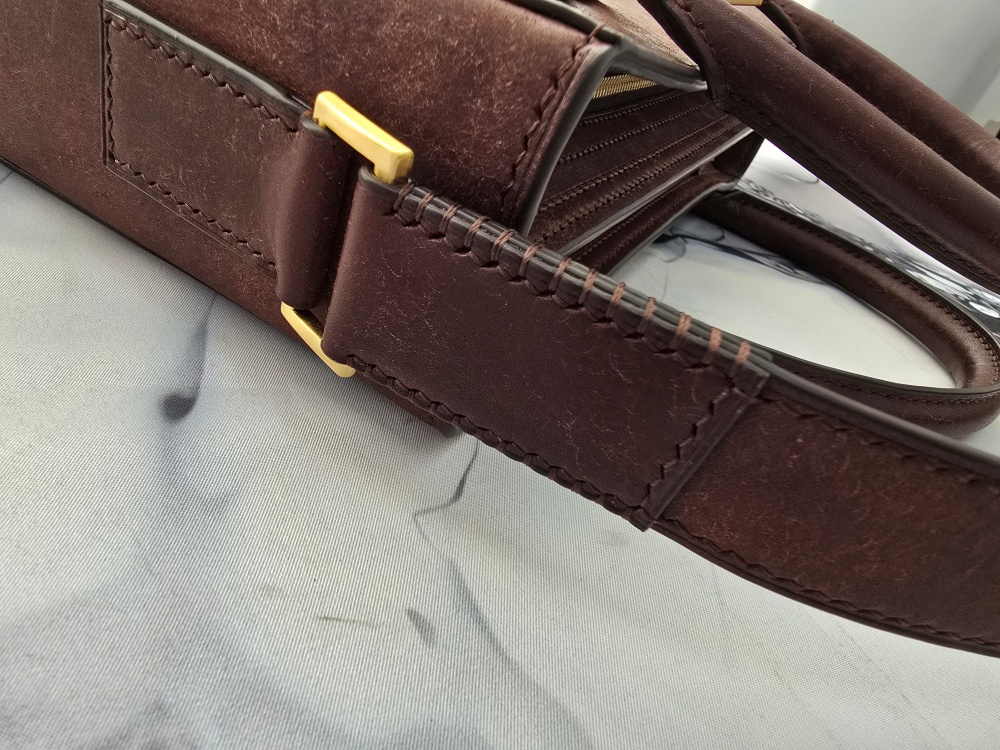
    몸판과 옆판이 연결된 상태에서 곡선 부분과 봉제선이 보이는 사진

    Center Points and Alignment Marks Establish the Assembly Reference

    If only the starting and finishing points are matched and the components are joined continuously in one direction, any excess length may collect in a single area. Everything may appear to fit at first, only for the gusset to become too long or too short near the final section.

    To prevent this problem, reference marks should be placed at the following positions:

    • Top and bottom center points of the body panel
    • Center point along the length of the gusset
    • Points where the left and right bottom curves begin
    • Points where a straight line transitions into a curve
    • Left and right reference points used to confirm handle and pocket placement
    • Assembly starting and finishing points specified on the pattern

    First align the center points of the body panel and gusset. Then confirm that the marks at the major curves and corners correspond with one another. The length between each pair of reference points should then be aligned and secured separately so that any minor difference is distributed evenly around the perimeter.

    A center point is not simply a mark indicating the middle. It is a structural reference that prevents the components from shifting to one side during assembly.

    Do Not Glue the Entire Perimeter at Once

    If adhesive is applied around the entire perimeter and the body panel and gusset are attached in a single step, correcting a misaligned section becomes difficult. On curves, one component may adhere first and create a length difference on the opposite side.

    It is more reliable to align the main reference points temporarily and then divide the perimeter into smaller sections. Straight sections and curved sections should be treated separately, with each section properly aligned before moving on to the next.

    Check the following during the gluing process:

    • Is the distance from the edge to the stitch line consistent?
    • Do the center and corner marks meet accurately?
    • Has either piece of leather stretched in one direction?
    • Are there wrinkles or lifted areas along the bonded surface?
    • Is the height of the gusset consistent on both sides?
    • Are areas containing several layers excessively thick?

    Gluing is not merely a temporary step that makes stitching easier. It holds both components in their intended positions while they are being stitched. Adhesive, however, should never be used to conceal a mismatch in length.
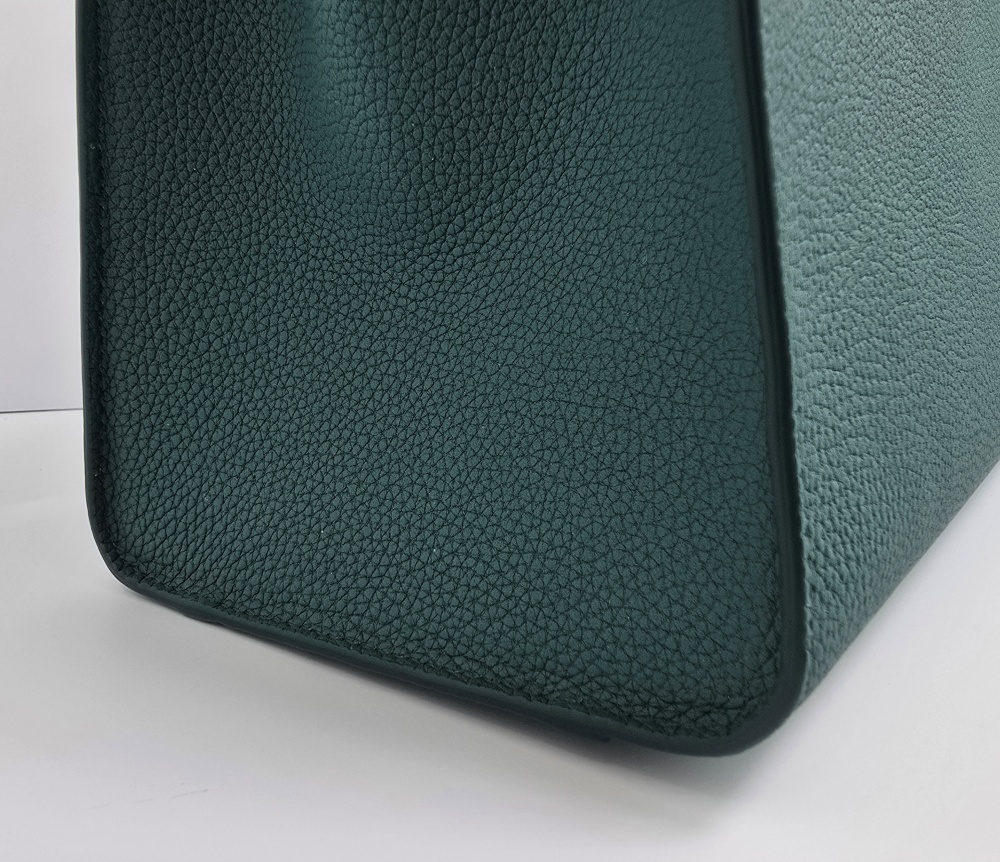
    가방 몸판의 곡선을 따라 옆판을 연결한 모습

    Do Not Stretch the Leather to Force the Curves to Match

    When the body panel and gusset do not fit perfectly, it can be tempting to stretch the more flexible component until the endpoints meet. However, stretched leather will continue trying to return to its original state after stitching. This can cause the corner to lift or create wrinkles on one side of the bag.

    Instead of forcibly stretching the leather, distribute the length gradually between the alignment marks. Spreading a minor difference across several sections produces a more natural finished curve than concentrating it in one location.

    Leather cut from the belly area can stretch easily because its fiber structure is relatively loose. Even when the body panel and gusset are cut from the same hide, they may stretch differently depending on their location and grain direction.

    If a component has already stretched, do not gather the excess length into a corner and glue it in place. Recheck the pattern, cutting dimensions, and grain direction before proceeding.

    Corner Thickness Affects the Joining Length

    At the bottom corners of a leather bag, the body panel, gusset, reinforcement, and lining may overlap in several layers. If these areas have not been skived sufficiently, the added bulk inside the curve can push the gusset outward.

    Even when the pattern measurements are accurate, excessive assembly thickness can cause the following problems:

    • The corner curve becomes angular.
    • The stitch line is pushed toward the outer edge.
    • The gusset extends beyond the body panel.
    • The bottom of the bag does not rest flat.
    • The lining or interior divider pulls toward one side.

    The skiving range and final thickness around the corners must therefore be checked before assembly. Skiving is not simply a way to make stitching easier. It controls the amount of space occupied by overlapping materials inside a curve.

    Stitching Holes Must Correspond on Both Components

    When the body panel and gusset are pre-punched separately, the total number of holes and the hole positions at major reference points must correspond. Pay particular attention to the holes at the beginning and end of each curve and at the center points.

    If the two components have different numbers of holes, one side may have unused holes or the stitch spacing may become irregular near the end. Trying to solve the problem by suddenly reducing the spacing or passing through the same hole more than once around a corner will interrupt the flow of the finished stitch line.

    When holes are punched after the components have been glued together, or when an awl is used to pierce both layers, the tool must pass through the leather at a consistent angle. If it tilts, the holes may appear even on the front while the stitch line on the back shifts toward the edge.
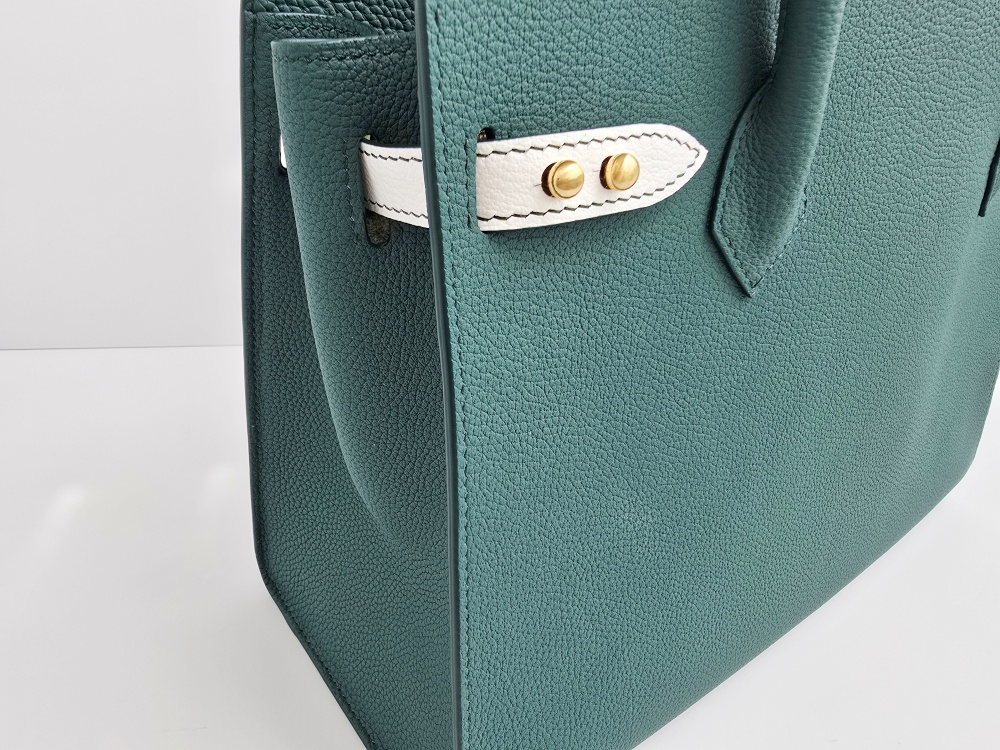
    안정적인 타공과 바느질로 연결한 옆판

    Stronger Stitching Tension Does Not Create a Stronger Join

    Pulling the thread excessively tight may initially make the two components feel firmly connected. However, excessive tension can draw the stitch line inward and distort the curve.

    Around corners, the direction of the thread changes continuously. Even when the thread is pulled with the same force used on a straight section, the pressure transferred to the leather may be different. Both threads should be pulled in consistent directions with even tension, while checking that the stitches are not cutting into the leather surface.

    Excessive stitching tension can cause the following problems:

    • The leather becomes indented around the stitch line.
    • The gusset edge develops a wavy appearance.
    • The corner curve rolls inward.
    • The left and right body panels take on different shapes.
    • The stitching holes become stretched or torn.

    Thread connects the two components, but it cannot correct inaccurate measurements or poor alignment. Any part that does not fit properly before stitching should be corrected before the stitching begins.

    Why Interior Components Must Be Completed First

    In a bag with two compartments, an interior divider, or zippered pockets, the internal components should be completed before joining the body panel and gusset around the perimeter.

    Once the body panel and gusset have been stitched together, the space available for hands and tools inside the bag becomes limited. Adding a divider, zippered pocket, or reinforcement at this stage can make accurate stitching difficult and may require the completed exterior seam to be opened again.

    Why the order of leather bag construction matters—each stage determines the space and working conditions available for the next one. Before closing the exterior perimeter, check the interior pockets, dividers, reinforcement behind the handle attachments, and lining.

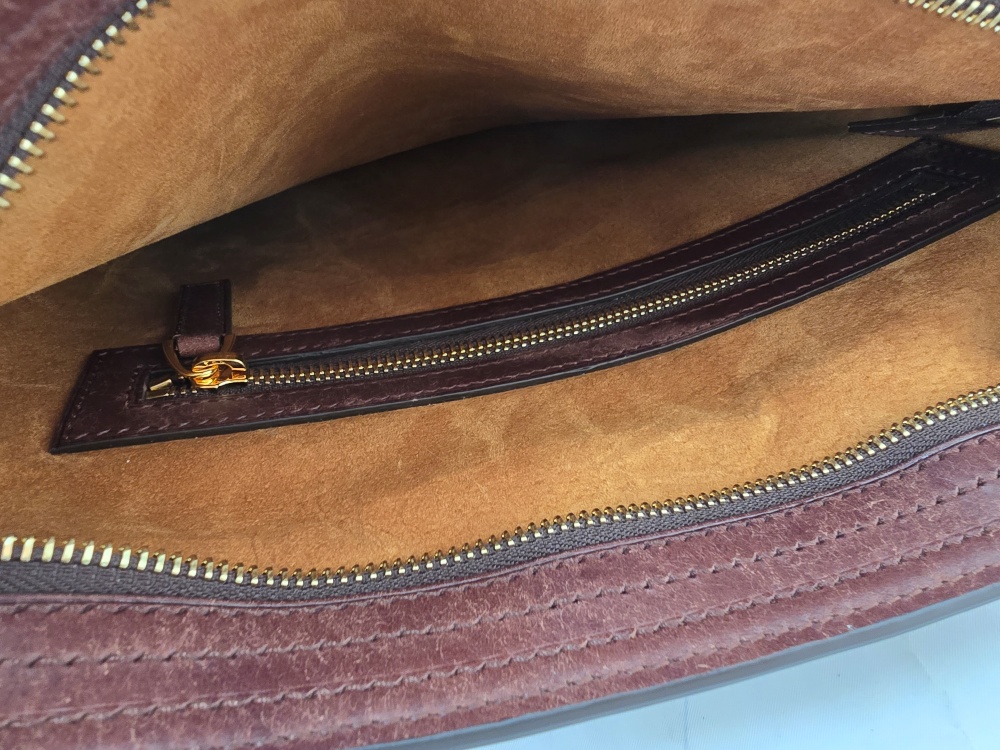
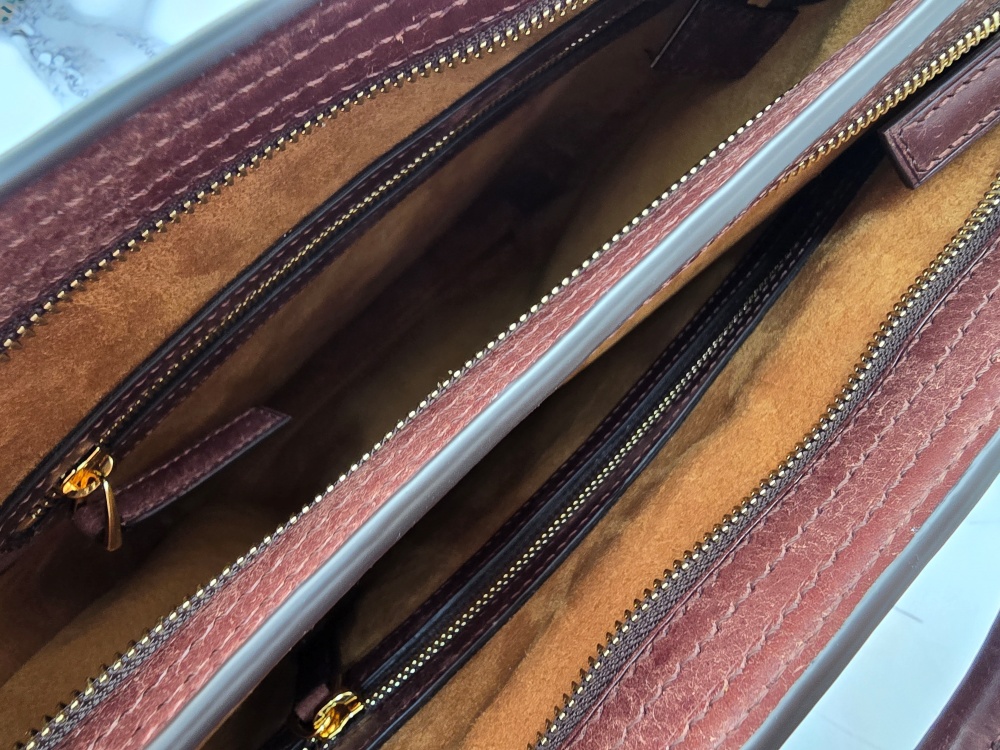
    In this two-compartment bag, the front zippered wallet, interior storage structure, and handles were completed before the perimeter of the body was joined. This sequence is not merely more convenient. It is a planned construction method that protects both the internal functions and the exterior shape.

    Inspect the Join as a Three-Dimensional Form

    After stitching the body panel and gusset, do not inspect only the seam. Stand the bag upright and examine its complete three-dimensional form.

    Check the following:Check the following:

    • Are the left and right sides the same height when viewed from the front?
    • Has the gusset twisted toward one side?
    • Does the bottom rest flat?
    • Are the curves at the left and right corners symmetrical?
    • Is the center of the bag opening correctly aligned?
    • Are both handles positioned at the same height?
    • Is the interior divider pulling the exterior inward?
    • Are the stitch spacing and tension consistent around the entire perimeter?

    The bag should be examined both empty and with weight inside to simulate actual use. If one body panel sags or the gusset twists when the bag is filled, recheck the handle position, interior divider, and perimeter assembly.
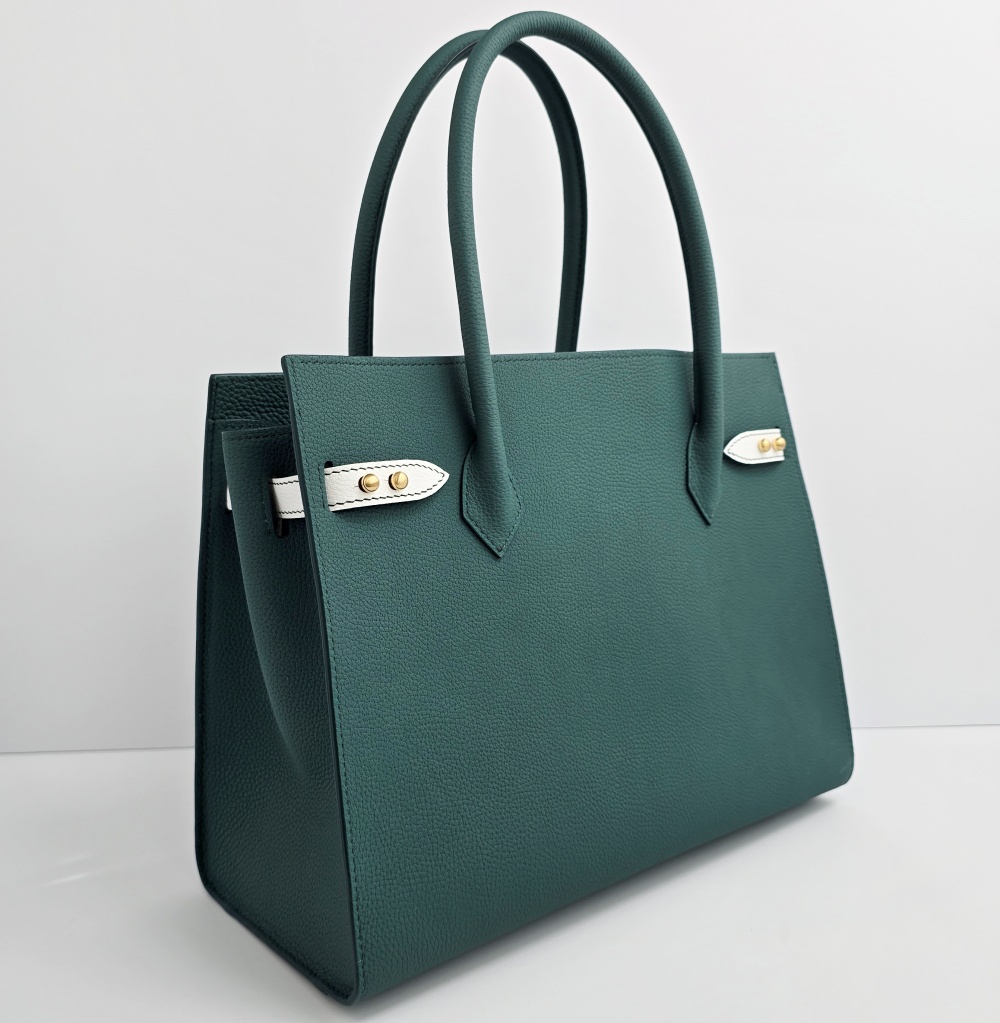
    몸판과 옆판의 둘레 연결이 끝난 가방을 세워 전체 형태를 확인

    Accurate Perimeter Assembly Completes the Bag’s Form

    A leather bag body panel and gusset cannot be joined accurately by matching only their endpoints. The stitch-line lengths, center points, curve positions, corner thicknesses, and stitching tension must work together for the finished bag to maintain a balanced form.

    If the lengths do not match during assembly, do not attempt to solve the problem by stretching the leather or pulling the thread more tightly. Recheck the pattern’s stitch lines, reference points, skiving range, gluing sequence, and hole positions.

    Joining the body panel and gusset is not simply the final step of closing the bag’s outer edge. It is the critical process that confirms whether the flat pattern has been transformed into the intended three-dimensional structure.
  • 가죽가방 입구 설계는 왜 중요한가: 지퍼 길이와 옆판 장력의 관계

    Why Leather Bag Opening Design Matters: Zipper Length and Gusset Tension

    When viewing a finished leather bag from the front, the proportions of the body, the handles, and the color of the leather usually attract attention first. However, once the bag is opened and closed, the opening becomes one of the clearest indicators of its overall quality.

    When the zipper is closed, the opening may fail to form a straight line. The center may sag, the ends may lift, or the leather around the zipper may ripple. Even a bag that initially looks well aligned can gradually develop a widened or uneven opening with use.

    These problems are not caused by the zipper alone. Leather bag opening design is a structural process determined by zipper length, the thickness of the opening leather, reinforcement, gusset tension, handle placement, and the construction sequence.

    A bag opening is not simply a final section completed by attaching a zipper. It is the upper structure where forces from the body panels, gussets, handles, and internal construction come together.

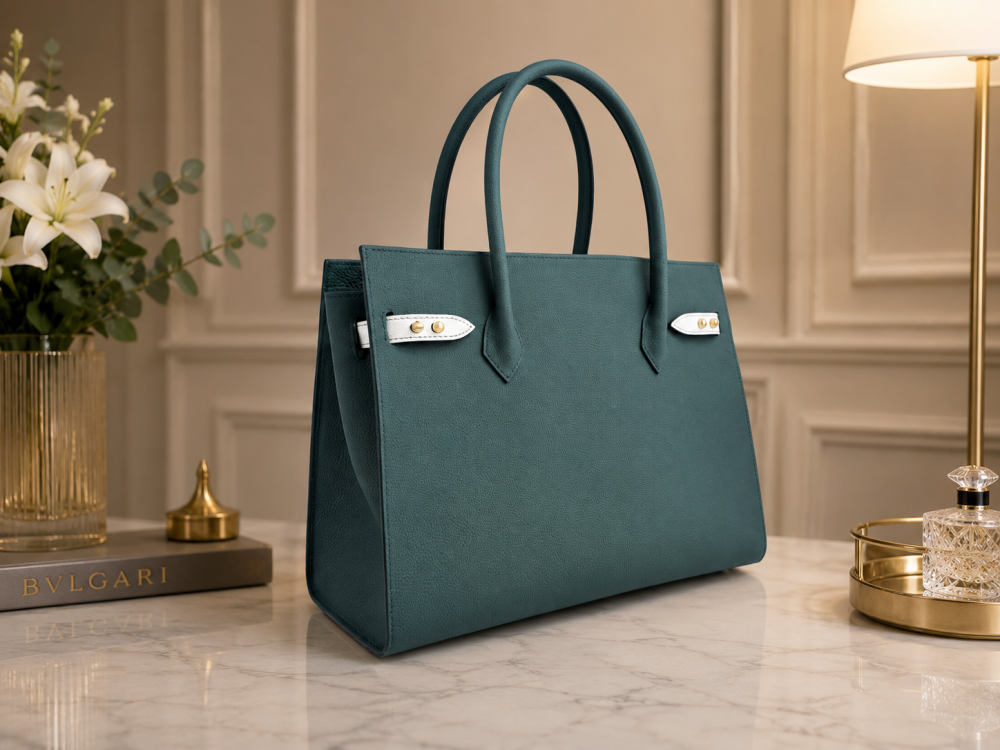
    브라운 가죽 토트백의 전체 형태와 입구 실루엣

    A Bag Opening Must Work Both When Closed and When Open

    When designing a bag opening, it is not enough to make it look straight only when the zipper is closed. When opened, it must provide enough space for the hand to enter naturally and for items to be removed comfortably.

    If the opening is made excessively rigid, it may look neat when closed but fail to open wide enough. If it is too soft, it may be convenient to use but unable to resist the weight of the contents and the pulling force of the handles, causing the top edge to deform.

    The opening must therefore satisfy two conditions at the same time.

    • When the zipper is closed, the height and alignment of both sides must remain stable.
    • When the zipper is opened, the opening must expand smoothly as needed and then return to its original shape.

    A well-designed opening is neither completely rigid nor excessively soft. It maintains a balance between opening movement and shape retention.

    Zipper Length Should Not Be Determined Only by the Visible Opening Length

    It is easy to assume that a 35-centimeter bag opening simply requires a zipper of the same length. However, the opening length shown on the pattern may differ from the actual path the zipper follows after assembly.

    The finished opening length changes when the leather turn-in, gusset seam allowance, zipper-end clearance, and final leather thickness are considered. With a curved opening, the flat pattern measurement may also differ from the actual path followed by the zipper after assembly.

    If the zipper is too short, it may pull both ends inward, causing the top edge to curve or the center to rise. If the zipper is too long, the excess length may create ripples in the zipper tape or bulk at the ends.

    What to Check Before Determining Zipper Length

    • The actual length of the line along which the zipper will sit in the finished bag
    • Whether the zipper ends will be concealed inside the leather or left exposed
    • The clearance between the zipper stops and the handle attachments
    • The amount of length lost when the opening leather is folded
    • Whether the opening is straight or curved
    • The angle at which the gusset meets the opening

    A zipper should not be selected using only a single measurement written on the pattern. Its actual path and movement in the finished bag must be considered first.

    Gusset Tension Pulls the Opening Outward or Inward

    Although zipper and reinforcement problems are often blamed for a spreading opening, the height and attachment length of the gusset also have a major influence.

    If the attachment lengths of the body panel and gusset do not match precisely, one component must be stretched or compressed during assembly. The resulting tension may not be immediately visible, but it can later appear as distortion around the opening as the leather settles with use.

    If the gusset is attached too tightly, it can pull both sides of the opening inward. If excess gusset length remains, the ends of the opening may spread outward or develop wrinkles.

    For a curved gusset, several matching points should be marked to ensure that the body and gusset are distributed in equal proportions. Aligning only the beginning and end while estimating the middle by eye can create uneven tension between the two sides.

    If the two sides of the opening look different, first check whether the body and gusset were joined at matching positions with equal tension before altering the opening line itself.

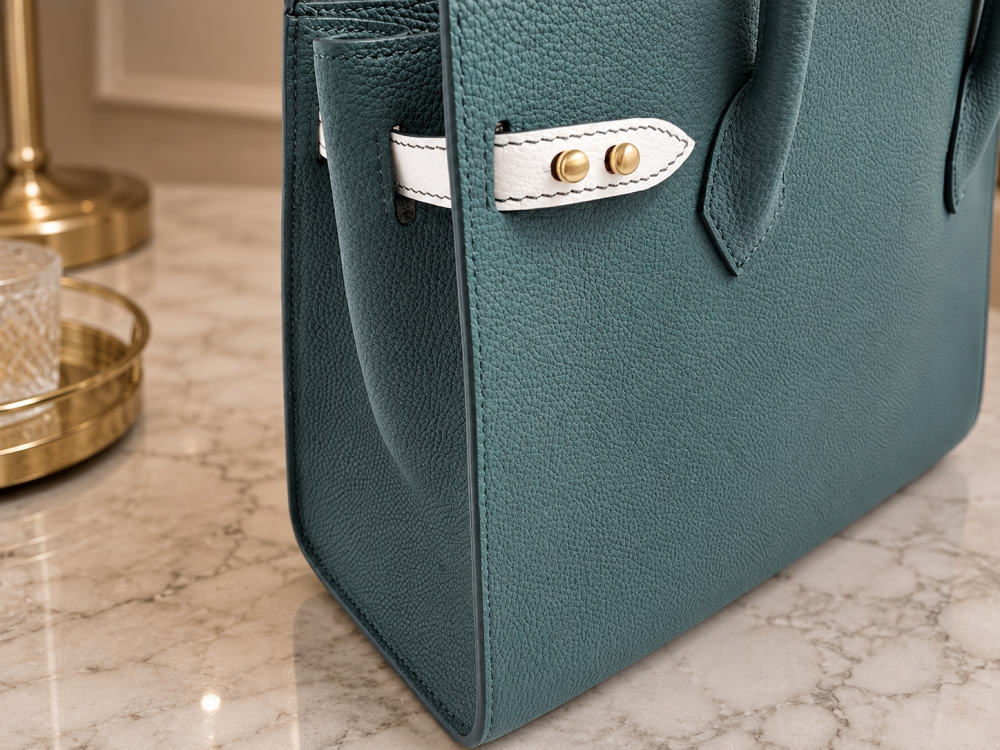
    가죽가방 입구와 옆판이 연결되는 측면 구조

    Stronger Reinforcement Is Not Always Better

    The opening requires reinforcement because it is repeatedly affected by zipper movement and handle loads. However, adding thick and rigid reinforcement does not necessarily produce a better opening.

    Excessively rigid material may preserve a straight line but create a sharp bend where the opening meets the gusset. The opening may not expand sufficiently, and repeated movement may eventually reveal the edge of the reinforcement through the leather surface.

    Insufficient reinforcement, on the other hand, may allow the top edge to stretch or sag under handle loads and repeated zipper movement.

    Therefore, when planning area-specific reinforcement, the opening should not have the same stiffness throughout.

    • Reinforce long straight sections sufficiently to maintain a stable top edge.
    • Retain flexibility where the opening meets the gusset so that movement is not restricted.
    • Reinforce the load-bearing area around the handle attachments separately rather than stiffening the entire opening.
    • Taper the reinforcement near the zipper ends to prevent a sudden increase in thickness.

    Good reinforcement does not force the leather into a fixed position. It allows the leather to move only where movement is needed.

    Uneven Skiving Can Distort the Zipper Line

    Where the opening leather is folded and joined to the zipper, multiple layers of leather, reinforcement, zipper tape, and lining overlap. Although the opening appears to be a single line, its internal thickness can vary from one section to another.

    If only the zipper ends or gusset connections become suddenly thicker, it becomes difficult to maintain a consistent stitching line and edge height. Forcing layers of different thicknesses together can also cause the opening leather to curl or pull the zipper tape after the adhesive dries.

    Skiving does not mean making the entire opening uniformly thin. It means calculating the number of overlapping layers and creating a smooth transition where the finished thickness changes.

    Thicknesses to Check Before Assembling the Opening

    • The final thickness of the folded leather
    • The difference between reinforced and unreinforced sections
    • The areas where the zipper tape and lining are added
    • The section where the gusset seam allowance overlaps
    • The extent to which handle reinforcement continues into the opening

    If skiving is based only on the thickness of a single outer leather layer, the assembled section may become thicker than expected. The completed layered structure must always be used as the reference.

    Handle Placement Also Affects Opening Deformation

    When the bag is lifted, the handles transfer its entire weight to the area around the opening. If the handle attachments are too close to the top edge or the reinforced area is too narrow, the opening may be pulled upward, causing the center to sag or the ends to spread.

    If the handles are positioned too close together, the load becomes concentrated near the center. If they are too far apart, they may pull the sides of the opening outward. Handle placement must therefore consider not only visual proportion but also how the opening receives and distributes the load.

    To evaluate the stability of the opening, do not inspect only an empty bag. Place a realistic load inside and lift it by the handles. Observe how the top edge is pulled and whether the zipper continues to open and close smoothly.

    브라운 가죽가방 내부의 지퍼 포켓과 안감 구조

    Changing the Construction Sequence Can Alter the Opening Alignment

    the leather bag construction sequence, the opening and zipper cannot be worked on independently of the other components. The available working space and alignment references change depending on whether handle reinforcement, zipper attachment, lining assembly, or gusset construction is completed first.

    If the zipper is positioned only after the body and gusset have been fully assembled, there may not be enough room for needles or tools. If the zipper is fixed too early, small length differences created while attaching the gusset may become difficult to correct.

    Before final stitching, check the following points while the components are temporarily bonded or basted.

    • Is the top edge symmetrical when the zipper is closed?
    • Does the opening expand naturally when the zipper is opened?
    • Does either end of the gusset pull the opening to one side?
    • Does the center of the opening sag when the bag is lifted by the handles?
    • Does the zipper slider catch on any thick section?
    • Does the lining interfere with zipper movement after it is installed?

    Any problems found at this stage should be corrected before final stitching and edge finishing.

    A Well-Designed Bag Opening Works Without Drawing Attention

    A well-designed bag opening may not appear visually dramatic. The zipper moves smoothly without excessive force, the opening expands as much as needed, and the top edge returns to its original position when closed.

    Because the opening does not interfere with the bag’s shape and connects the handles, body panels, and gussets naturally, the user rarely notices the structure itself.

    When the opening spreads, the zipper line ripples, or one side tilts, the entire bag can appear less refined than it actually is. Even high-quality leather and hardware cannot compensate for an unstable opening line.

    Leather bag opening design is not simply the step of attaching a zipper. It is a process that determines both usability and structural quality. A stable opening that retains its shape over time can be achieved only when zipper length, gusset tension, skiving thickness, reinforcement coverage, and handle placement are considered as one integrated structure.