Leather bag making does not begin when the leather is cut and stitched. The process begins much earlier—by defining the bag’s purpose, designing the required shape and dimensions, and selecting leather and reinforcement materials suited to its structure.
Even bags that look similar on the outside can differ greatly in structural stability, usability, durability, and finishing quality, depending on the order in which the maker made each design decision.
To make a leather bag properly, it is more important to understand the entire workflow—from design to final inspection—than to learn each technique in isolation. To understand this premise, it is helpful to also examine Why Leathercraft Should Be Learned Through Principles, Not Just Techniques.
Leather bag making is not simply a process of performing multiple techniques in sequence. It is a continuous design process in which every decision establishes the conditions for the next stage.
1. Defining the Bag’s Purpose and Conditions of Use
The first thing to determine is not the bag’s appearance, but its intended purpose.
Even two tote bags require different structures if one is intended for lightweight personal belongings and the other for carrying a laptop or documents. The size and weight of the contents, carrying method, frequency of use, and opening and closing system must be defined before the appropriate dimensions and structure can be designed.
Before beginning construction, the following questions should be considered.
- What items will the bag carry?
- Will it be carried by hand or worn over the shoulder?
- Should the bag maintain its shape when placed upright?
- Does the opening need to close completely?
- How many compartments should the interior contain?
- Where will stress be concentrated during use?
Without clear answers to these questions, it may be possible to create an attractive design, but difficult to make a bag that performs well in actual use.
2. Designing the Silhouette and Basic Dimensions
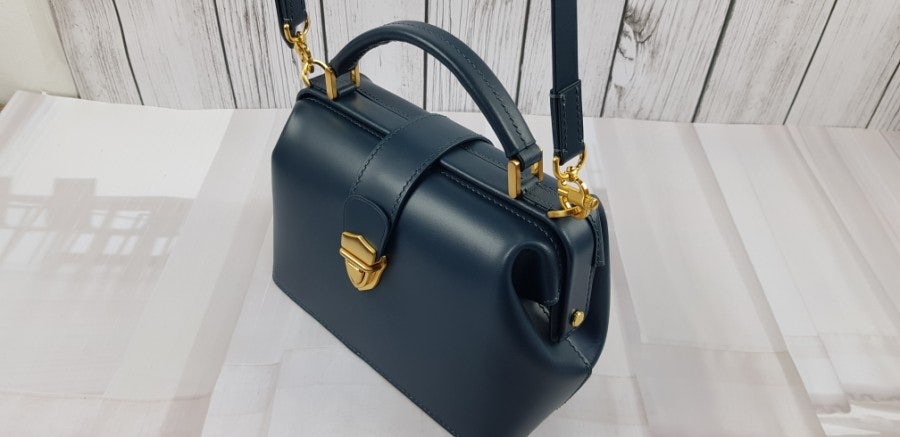
Once the purpose has been established, the bag’s overall silhouette and dimensions can be designed.
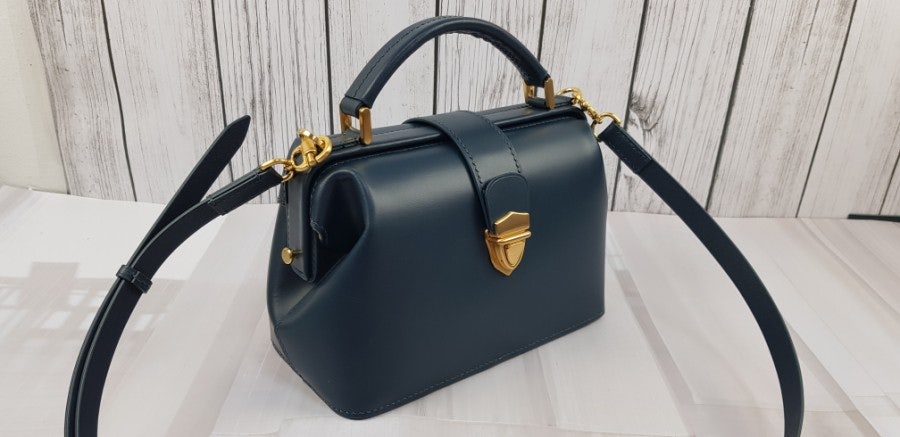
Width, height, and depth are more than simple measurements. Their proportions affect not only the bag’s visual impression, but also its capacity, center of gravity, and the opening range of its top.
If the bag is excessively wide, its center may sag. If it is tall but too narrow in depth, it may tip over easily. Conversely, excessive depth increases capacity but can make the bag appear bulky and allow the contents to shift to one side.
At this stage, the side profile and bottom shape should be examined together with the front view.
Basic Elements to Check
- The width-to-height ratio of the front
- The side depth and expansion angle
- The side depth and expansion angle
- The length and position of the handles
- The length and opening range of the top
- The length and opening range of the top
A good silhouette is not defined by attractive lines alone. The bag must maintain visual and structural balance both when empty and when filled.
3. Selecting Leather and Hardware
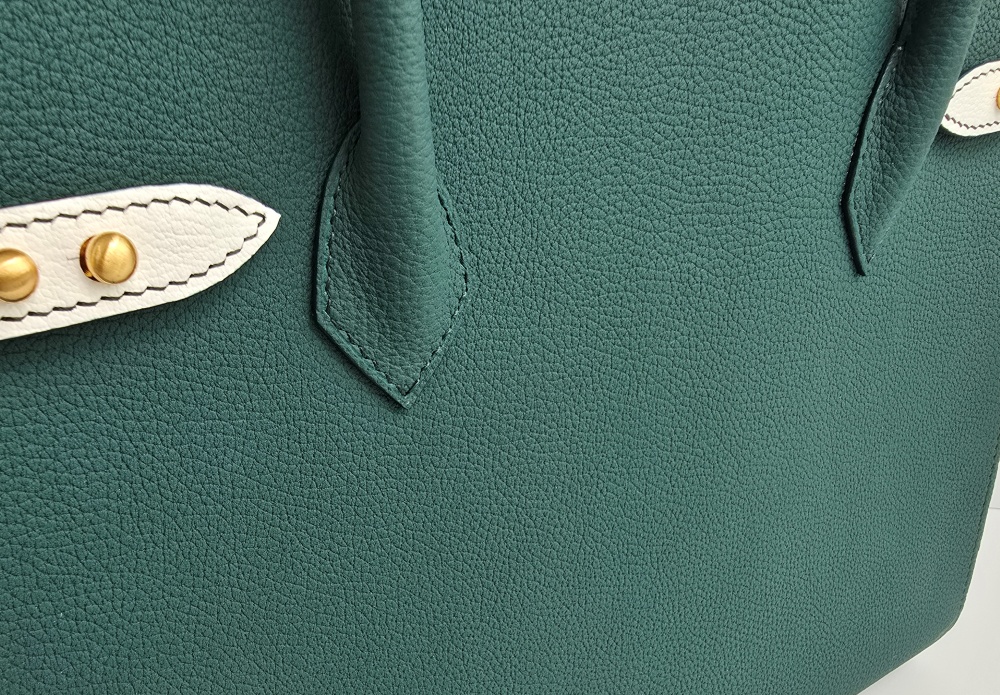
Leather should not be selected by color and grain alone. Its thickness, flexibility, stretch, surface strength, and recovery must all be evaluated in relation to the bag’s structure and size.
Soft leather creates natural folds and movement, but may lose its shape when used without sufficient support in a large bag. Firm leather maintains structure well, but may behave too rigidly at folds and openings.
For this reason, the following properties should be examined when selecting leather.
- The leather’s thickness and density
- The folds and wrinkles that appear when it is bent
- The direction in which it stretches when pulled
- Its resistance to friction and scratching
- How it changes when adhesive and reinforcement are applied
- The expected total weight of the finished bag
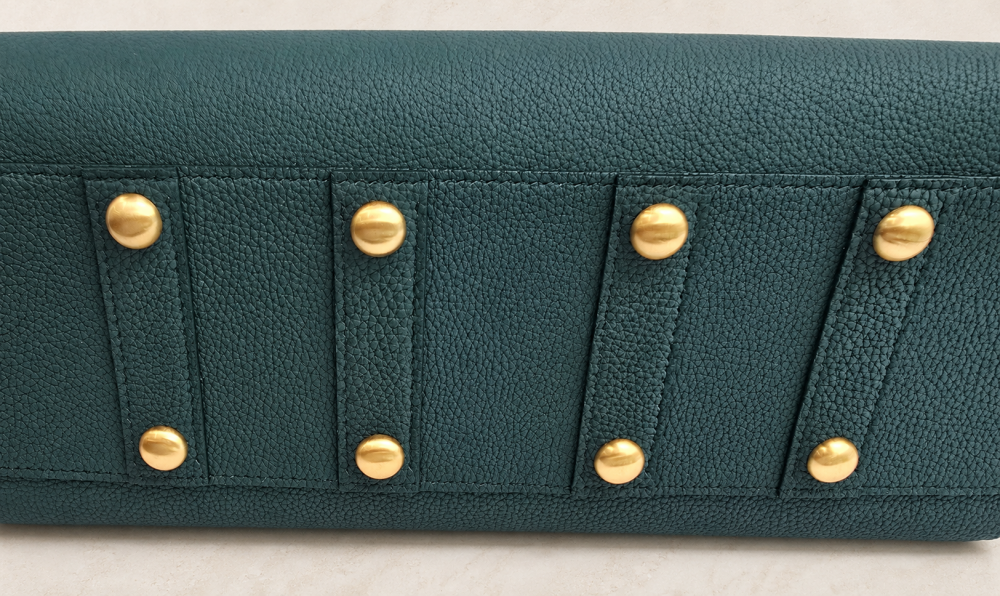
Metal components such as zippers, closures, handle fittings, and bag feet are both design elements and structural parts that transfer load. If their size, weight, or attachment method is unsuitable for the leather thickness, the surrounding leather may stretch or deform.
4. Determining the Internal Structure and Reinforcement Areas
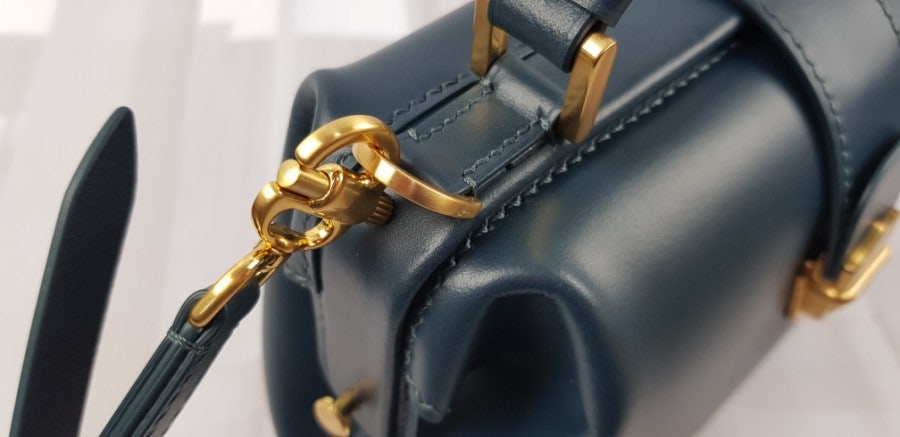
Once the exterior form has been established, it is necessary to examine how forces travel through the bag’s internal structure.
When the bag is carried, the weight of its contents does not remain at the bottom. Force travels from the bottom to the side panels, and from the sides to the opening and handle attachments. In a shoulder bag, repeated pulling also occurs at the strap attachment points.
Making every part rigid is not proper reinforcement. Areas that must retain their shape require suitable stiffness, while parts that open, close, or fold need enough flexibility to move naturally.
Key Areas to Review for Reinforcement
- The bag bottom
- The large surfaces of the front and back panels
- The opening and areas around the zipper
- The handle bases and hardware attachment areas
- The shoulder strap attachment points
- The corners and side-panel joints
- The openings of interior pockets
The purpose of reinforcement is not to make the entire bag rigid. It is to preserve the shape where support is needed while retaining flexibility in the areas that must move.
5. Creating the Pattern and Establishing Assembly References
A pattern is not simply a flat drawing of the finished bag’s exterior. It is a construction reference that includes stitching lines, bonding surfaces, fold positions, leather thickness, and assembly allowances.
If a pattern is based only on the visible finished dimensions, errors may appear during assembly. Where multiple layers overlap, lengths and curves change according to the combined thickness. In turned or folded constructions, the inner and outer surfaces of the leather also travel different distances.
At a minimum, the following information should be marked on the pattern.
- The finished line and cutting line
- The stitching line and starting point
- The centerline and assembly reference points
- The fold lines
- The locations and areas to be skived
- The size and placement of reinforcement materials
- The attachment positions of hardware and handles
- Identification of left and right, or front and back
- The required seam and assembly allowances
Clear references on the pattern make it possible to check the same positions consistently during cutting and assembly.
6. Cutting and Preparing the Components
Once the pattern is complete, the leather is cut after examining its grain, direction of stretch, and surface condition.
Even within the same hide, density and flexibility vary by area. Relatively stable sections should be used for large front and back panels, while areas with suitable flexibility are better for smaller components that must fold or wrap around other parts.
After cutting, the necessary preparation work is completed before assembly.
- Adjusting the leather thickness
- Attaching reinforcement materials and lining
- Skiving the areas that will be folded
- Marking hardware holes and stitching holes
- Finishing the edges that must be completed before assembly
- Constructing interior pockets and zipper components
- Comparing the sizes and positions of left and right components
Small errors made at this stage become more noticeable after assembly. In particular, handles and hardware arranged symmetrically should be checked again for matching left and right positions before they are attached to the body.
7. Assembling the Bag in the Correct Construction Sequence
A leather bag is not made by simply joining finished components together. It is necessary to distinguish between parts that must be attached first and areas that will no longer be accessible after the body is assembled.
Components that require access from inside the body—such as interior pockets, zippers, reinforcement patches behind hardware, and handle attachments—must be completed before the bag is closed. In contrast, edges and hardware that should be finished after checking the final form may be damaged during assembly if completed too early.
Understanding how these stages connect makes it clear that the leather bag construction sequenceis not merely a list of tasks, but a design framework that preserves the bag’s structure.
A general assembly sequence is as follows.
- Constructing interior pockets and zipper components
- Reinforce the handle and hardware attachment areas.
- Partially assemble the front and back panels.
- Combine the lining and internal structure.
- Connect the side panels and bottom.
- Assemble the bag opening and zipper.
- Attach the handles and strap.
- Complete the exterior edges and final finishing.
However, the same sequence cannot be applied to every bag. The order must change according to the bag’s structure, lining method, zipper position, and assembly technique.
8. Checking the Consistency of Stitching and Edge Finishing
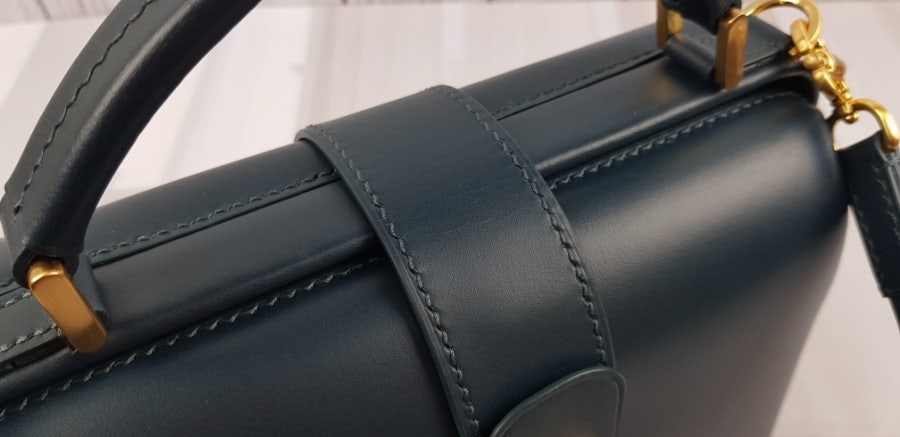
Stitching and edge finishing are not merely decorative final steps. They are structural finishing processes that secure bonded components, protect the cut layers of leather, and refine the overall lines of the bag.
Stitch length should suit the thickness of the leather and the size of the component. Stitches that are too long can make a small component look coarse, while excessively short stitches on a thick joint may weaken the leather by placing the stitching holes too close together.
Rather than making only one edge perfectly smooth, it is more important to maintain consistent thickness, color, gloss, and curvature throughout the entire bag.
The following points should be checked.
- Are the stitching lines parallel to their reference lines?
- Does the stitch spacing remain consistent around corners?
- Is the thread thickness proportionate to the leather thickness?
- Are the edge thickness and color consistent?
- Are the left and right sides of the handles and strap finished consistently?
- Do the curved and straight sections connect naturally?
9. Inspecting the Finished Form and Function
Construction is not complete simply because the bag has reached its finished form. Its shape and function must be inspected under conditions that reflect actual use.
The bag should not be evaluated only while empty. Place the expected weight inside and observe how the handles and bottom respond. Zippers and closures should be operated repeatedly, rather than only once, to check for catching, resistance, or twisting.
Final Inspection Checklist
- Are the front and side views symmetrical?
- Does the bottom rest flat?
- Does the center avoid excessive sagging when the bag is loaded?
- Do the handles and strap move evenly from their intended positions?
- Does the zipper move smoothly from beginning to end?
- Does the zipper move smoothly from beginning to end?
- Is the leather around the hardware free from excessive pulling or distortion?
- Have all stitching lines and edges been completely finished?
Final inspection is not only a process of finding defects. It is also an opportunity to record observations that can improve the pattern and construction sequence of the next project.
Understanding the Entire Process Changes the Way Patterns Are Designed
The quality of a leather bag is not determined by one exceptional technique alone.
Even high-quality leather may lose its shape if the structure is unsuitable. Precise stitching cannot produce a clean interior if the construction sequence is incorrect. Likewise, using excessive reinforcement without understanding where forces are transferred may result in a bag that is unnecessarily heavy and rigid.
Understanding the entire leather bag-making process does not mean performing every task perfectly from the beginning. It means recognizing how each decision affects the next stage and being able to trace a problem back through earlier stages to identify its cause.
A high-quality bag is not suddenly created during the final finishing stage. It is achieved only when the intended purpose, dimensions, materials, structure, pattern, and construction sequence all work toward the same objective from beginning to end.